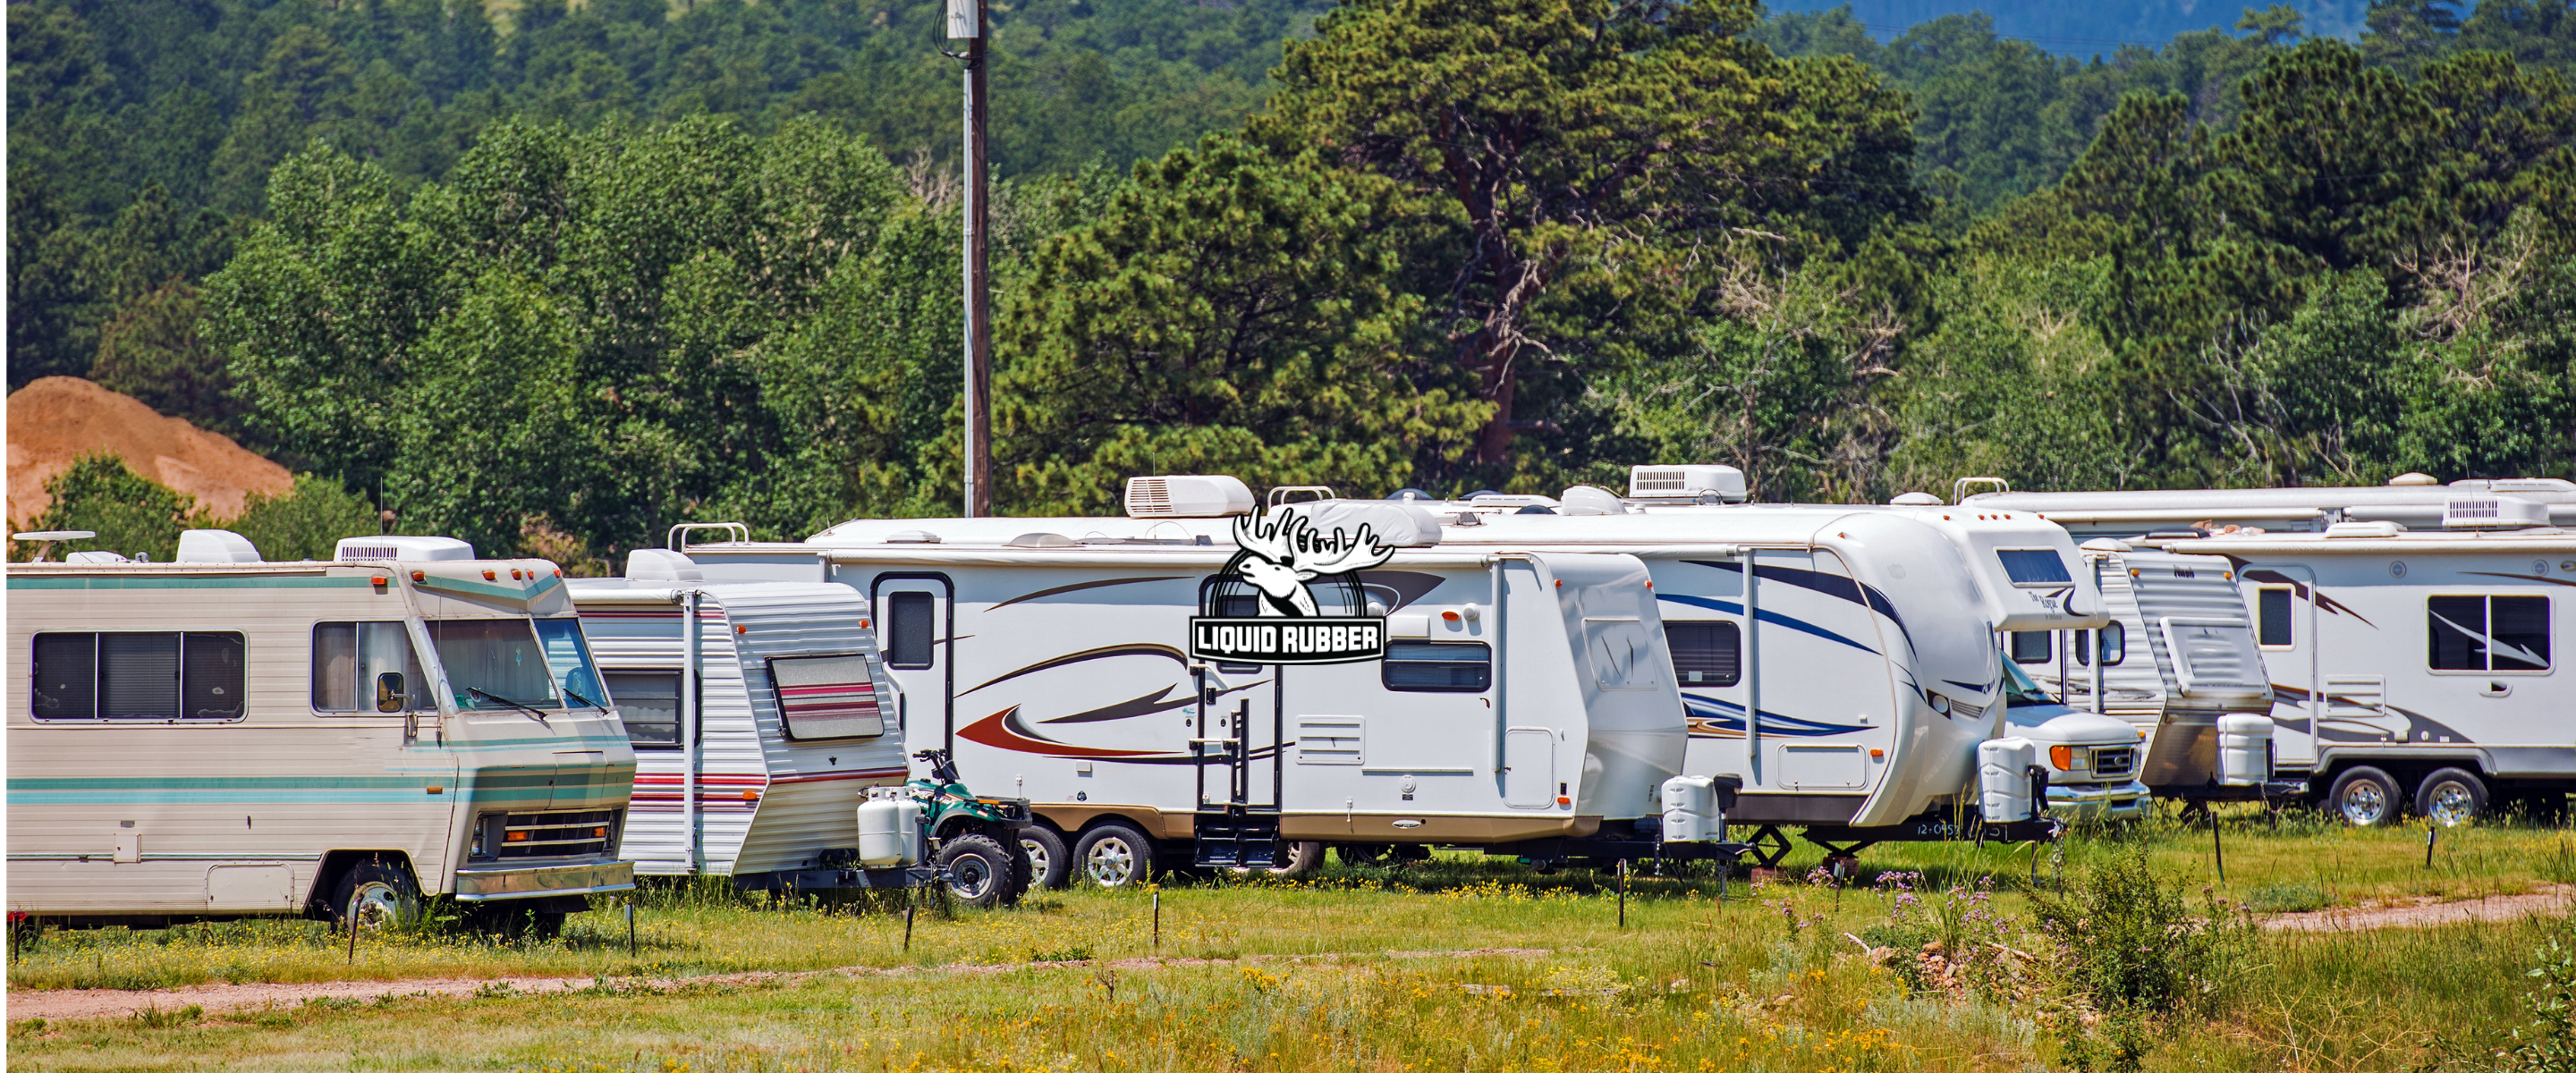
We get many questions on how to fix, repair and coat a RV Roof using Liquid Rubber products.
This is a general guideline of how it's done.
Typically a RV roof is in good shape for the most part. Leaking usually occurs around vents, skylights and seams.
How To Repair a RV Vent?
1. Clean 6" around area to be sealed so it's free from dirt, oil and contaminants....
2. Abrade/roughen surface (sandpaper or steel wool works well).
3. Final clean with Acetone ensures a proper surface to apply to.
4. Bridge gaps, cracks, seams, vents, skylights with Liquid Rubber Seam Tape....
5. Apply 1 coat of Liquid Rubber A-Primer to any surfaces you plan on coating. Most RV Roofs are hard to adhere to (Seam Tape does not require A-Primer). Coverage for Liquid Rubber A-Primer is approx 165 sq ft / G and costs $59.95. Sizes come in 1 Quart (946ml) - $29.95, 1G/3.78L and 5G/18.9L - $239.95. Currently we do not have this listed through the Online Store but it can be ordered by calling the Head Office at 1-855-592-1049.
6. A-Primer will dry fairly quick and remains tacky, you may want to work in 1 arm length at a time. It is then ready to coat over with Liquid Rubber Smooth Sealant.
7. Apply Liquid Rubber Smooth Sealant on primed surfaces and Seam Tape. You will require several coats to achieve a water resistant surface. 3 Coat final coverage is approximately 30 sq ft/G. Dry time usually is approximately 3 hours between coats. When it feels dry to touch, it can be recoated.
You can see a RV Vent Repair Case Study by clicking on the link.


