


RV Roof Coating
Current Price:
$79.95
Ready to upgrade your RV adventures? Look no further than Liquid Rubber RV Roof Coating, the ultimate solution for all RV roof types - EPDM, TPO, aluminum, or fiberglass. Transform your roof in just one weekend with our easy DIY RV roof repair system. Even if you're a novice, you'll find it simple to apply over a weekend. With over 20 years of industry expertise, our products are backed by a 10-year guarantee, ensuring your roof stays leak-free and watertight. Trust us to guide you through every step and join a community of satisfied RV owners.
A well-maintained roof means comfort, cooler temps inside, and a higher resale value, making your RV a cozy, reliable, and stylish home on wheels. With Liquid Rubber RV Roof Coating, you're investing in quality and long-term satisfaction. Hit the road with confidence, knowing your roof is ready for any adventure.

Everything you need to seal your RV Roof. Add or remove items as you need them!


 Application Guide
RV Roofs
Detailed steps to complete your project.
Application Guide
RV Roofs
Detailed steps to complete your project. Application Guide
RV Lap Sealant
Detailed steps to complete your project.
Application Guide
RV Lap Sealant
Detailed steps to complete your project.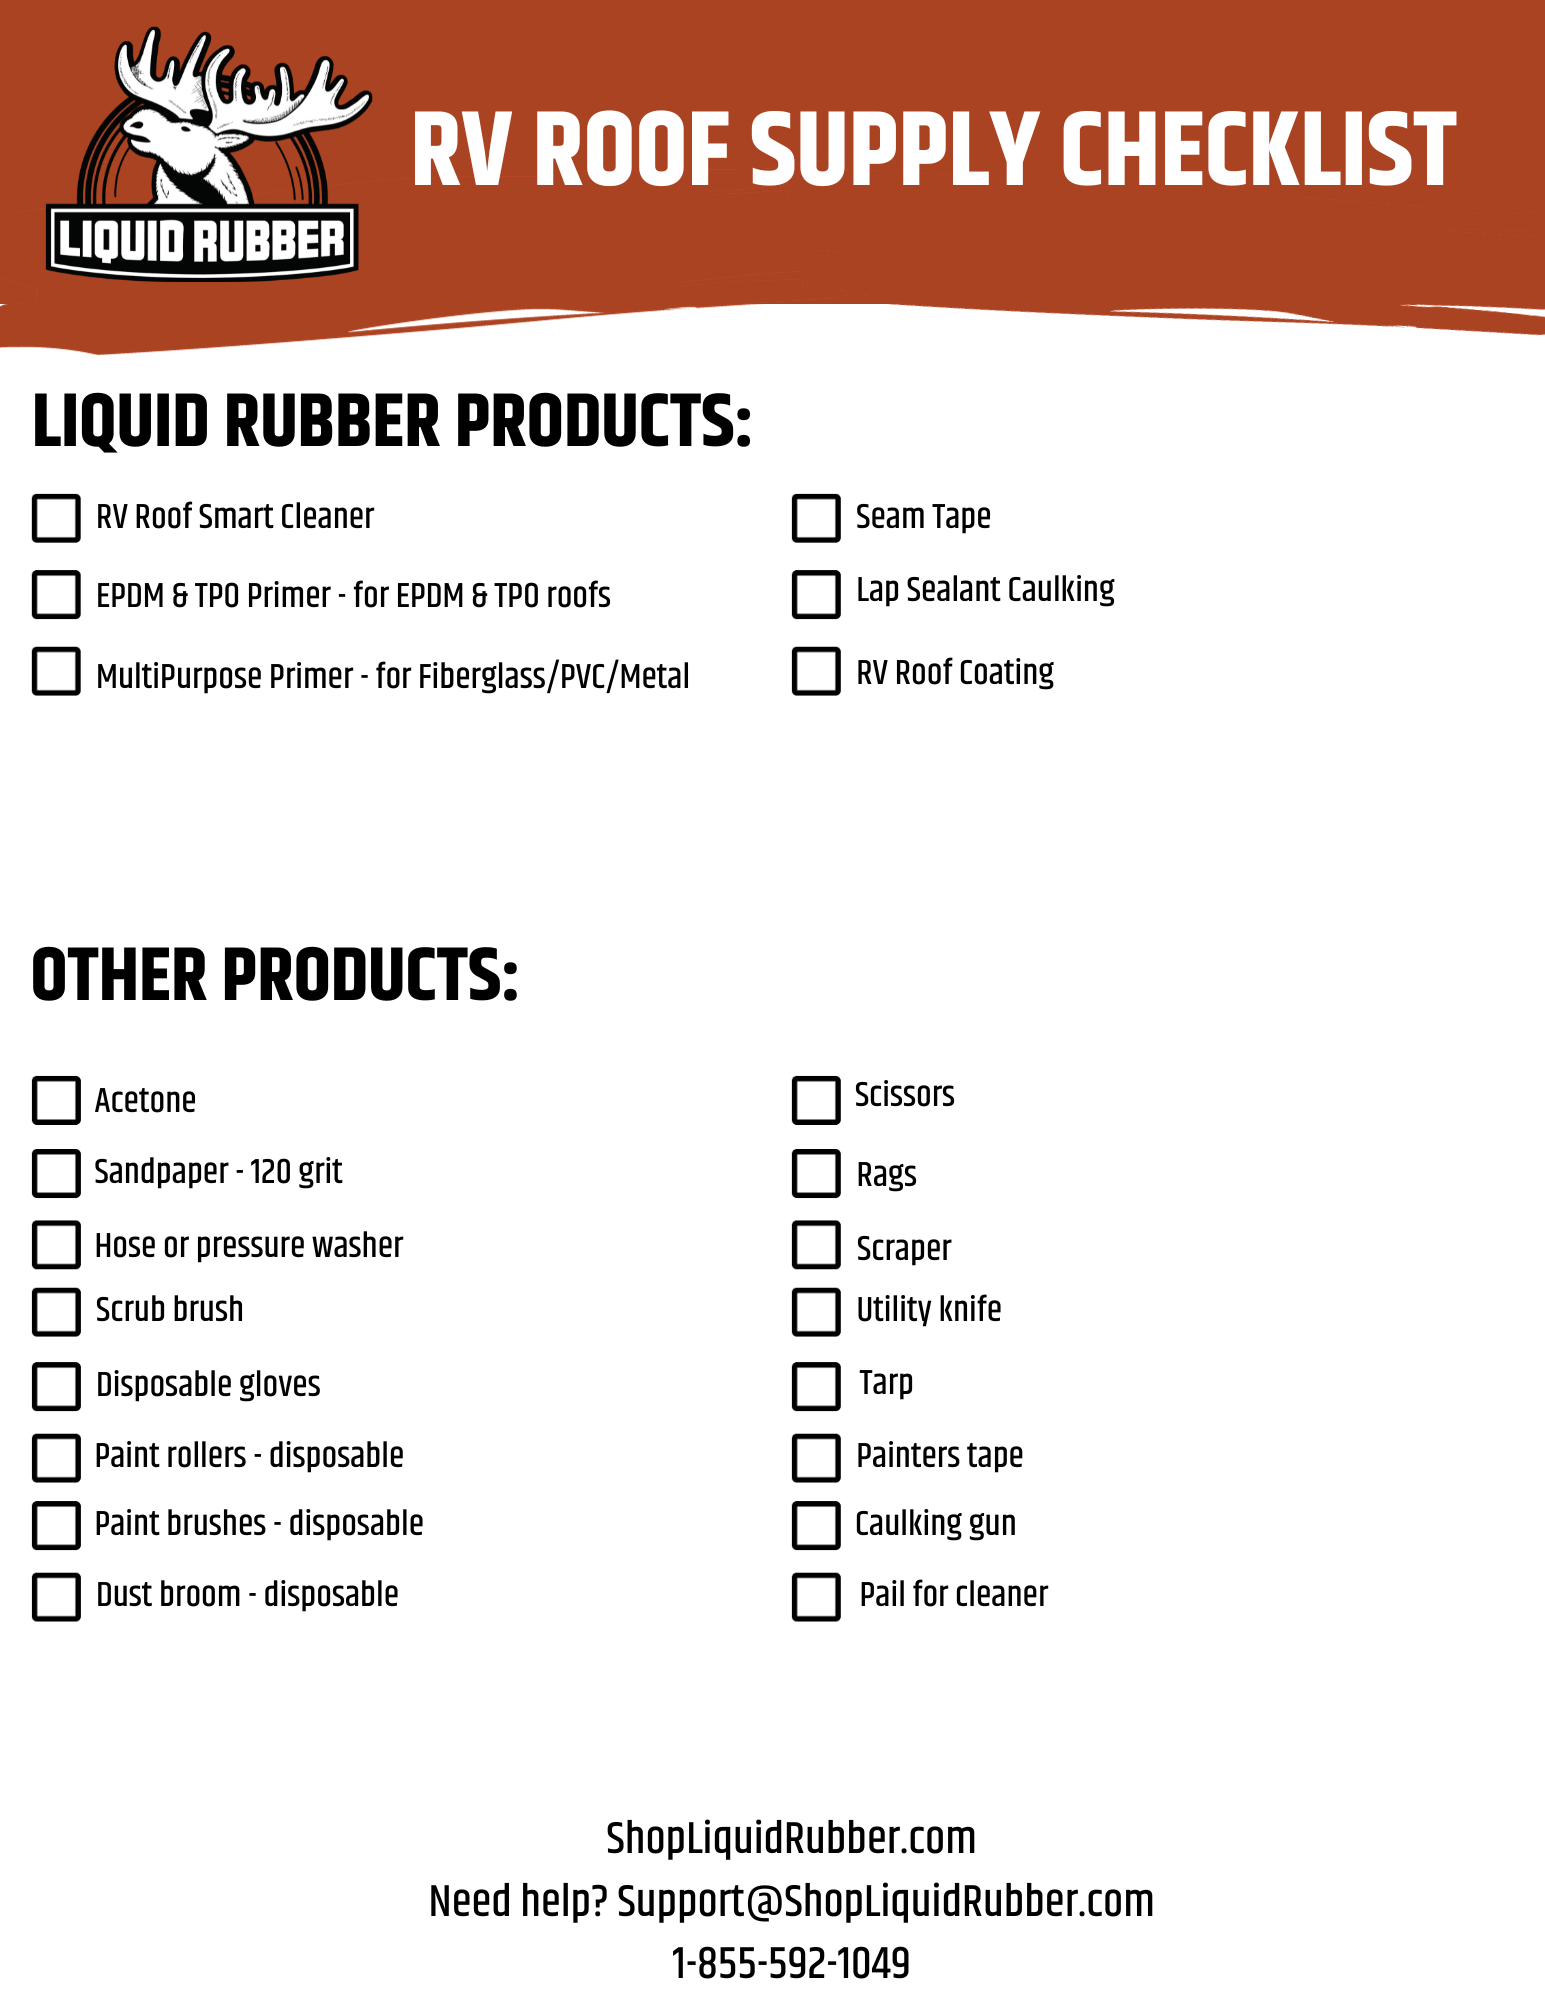 Product Supply Checklist
RV Roofs
Make sure you have everything before you start.
Product Supply Checklist
RV Roofs
Make sure you have everything before you start.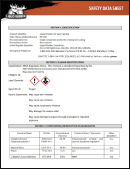 Safety Data Sheet
Stay informed and safe throughout your project.
Safety Data Sheet
Stay informed and safe throughout your project.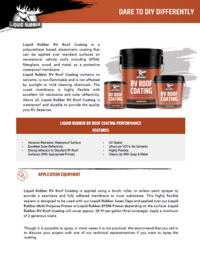 Technical Data Sheet
Get the technical details you need.
Technical Data Sheet
Get the technical details you need. Coverage
RV Roof Coating
Coverage
RV Roof Coating


Our team of experts are standing by to help make sure your project is a success.
Tell us about your project & we’ll give you the right guidance & products to get the job done.


