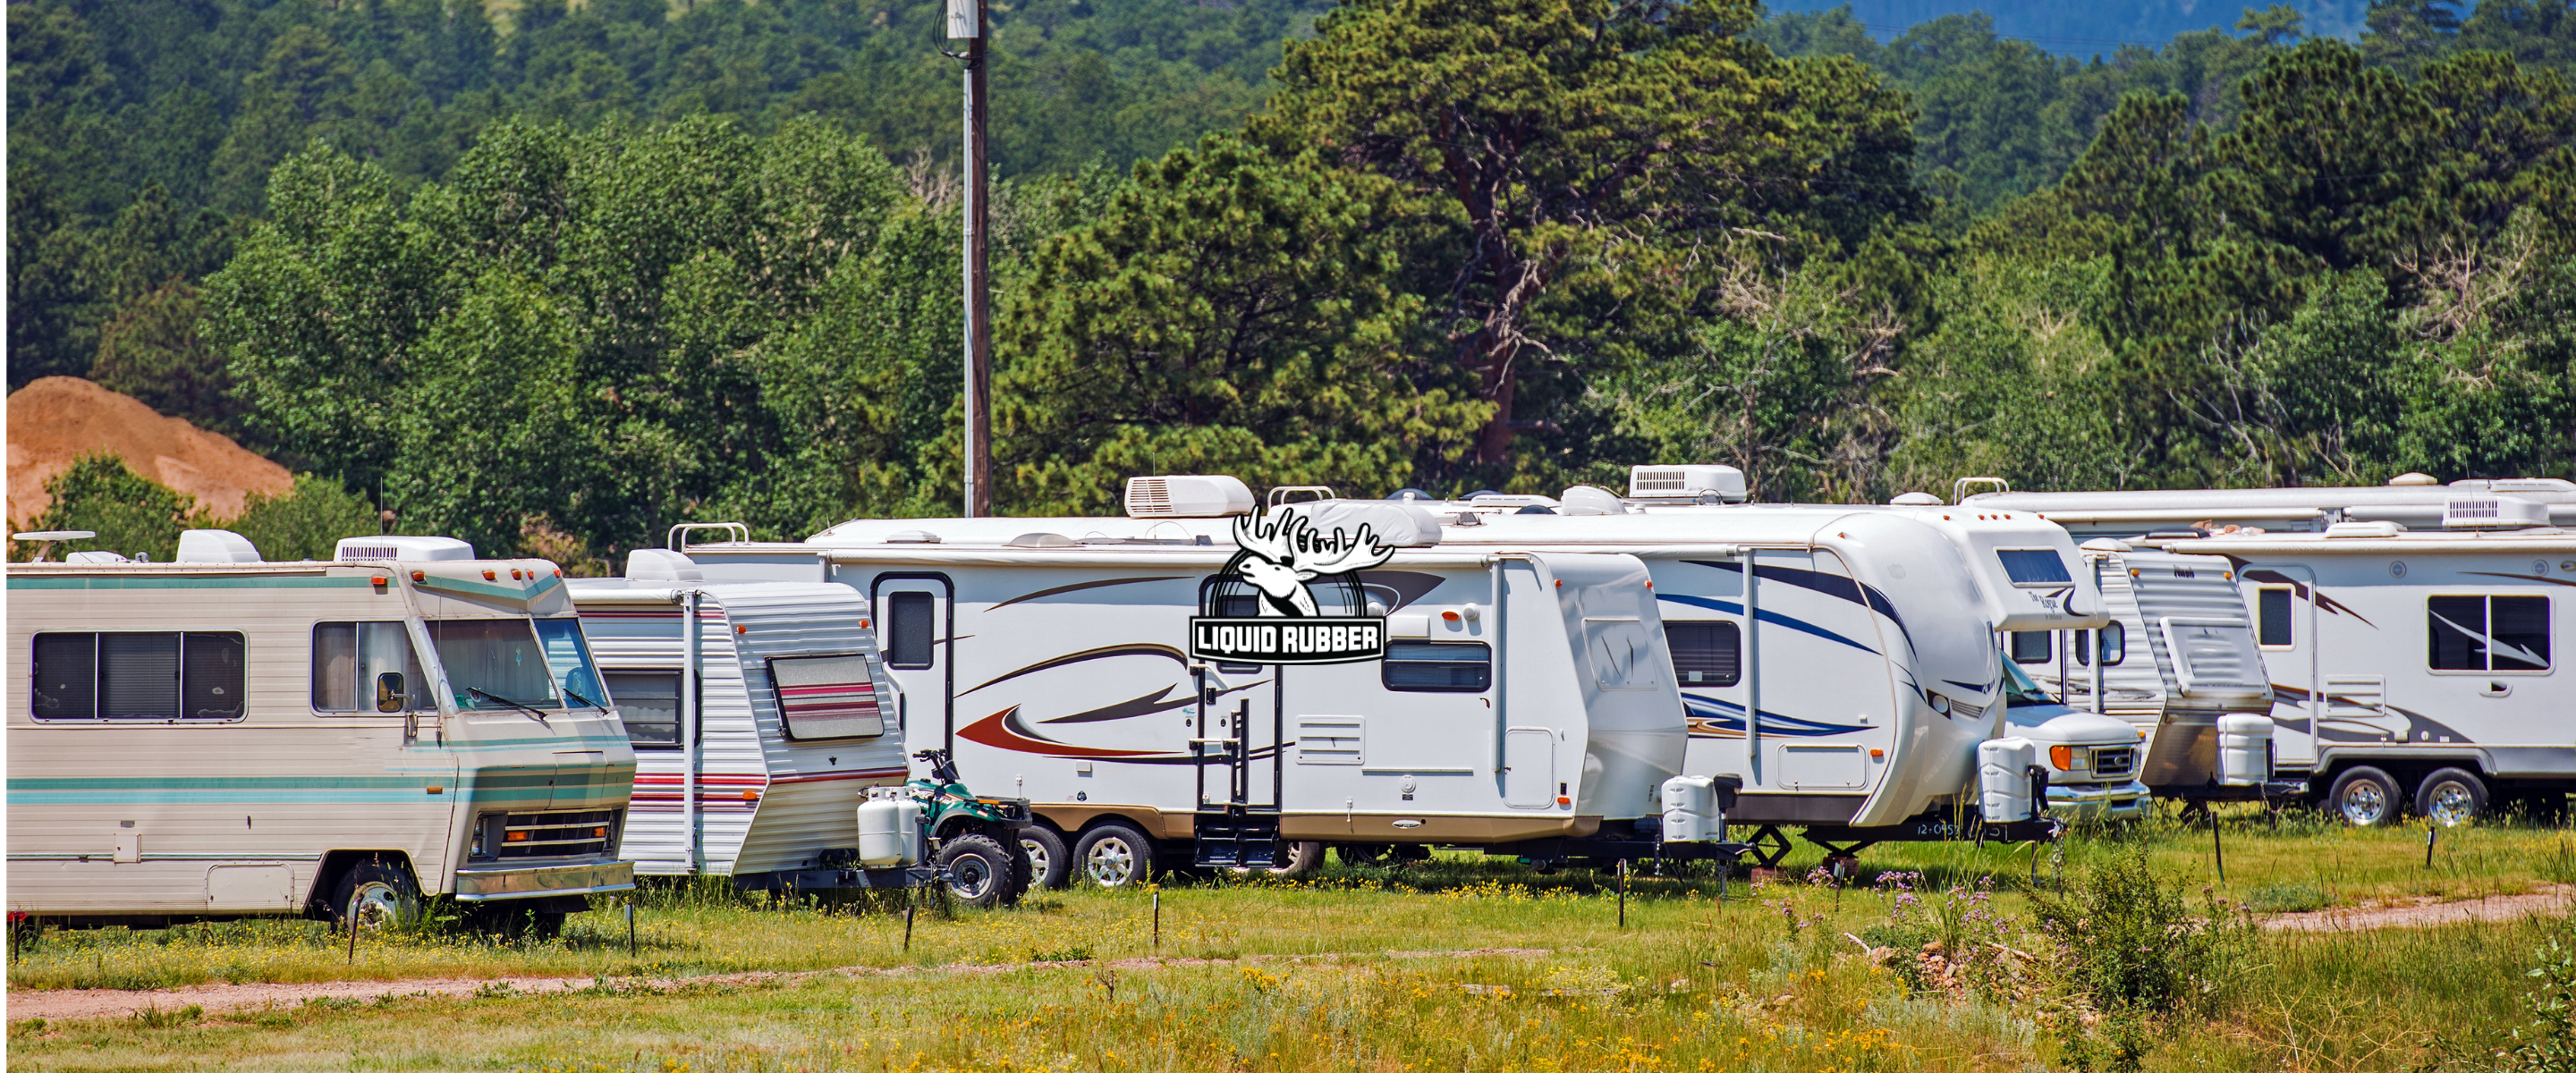
As fall gives way to winter, RV owners must take necessary precautions to protect their vehicles from potential damage caused by the harsh cold weather. Specifically, winterizing your RV's plumbing system is a crucial task that can save you significant time and money come springtime. However, winterizing your RV does not only involve the plumbing system, but also the automotive portion of the RV, which we'll cover in this detailed guide.
Winterizing Your RV
Winterizing your RV is an important part of RV maintenance that shouldn’t be overlooked. When temperatures plummet into the low 40s or high 30s, the water in your RV's lines and pipes can freeze. Once this water freezes, it expands, potentially leading to cracked pipes—a costly and time-consuming repair. To avoid this headache, it's prudent to winterize your RV every year as soon as temperatures begin to drop.
What You'll Need to Winterize Your RV
Gathering the right materials is key. Here's what you'll likely need:
- Antifreeze (around two to three gallons)
- Water pump converter kit
- Water heater bypass kit
- A tank cleaning wand and flushing system
- Tools for removing drain plugs, such as a socket wrench or power drill
- Some new inline water filters (optional)
- A flashlight for better visibility (optional)
Steps to Winterize Your RV
Step 1: Remove Inline Water FiltersSince antifreeze will be pumped through your water system, you should remove any installed inline water filters. This ensures they remain clean and ready for use when you reinstall them for your springtime adventures. If the filters are due for a replacement, this is an excellent time to do so.
Step 2: Flush Grey/Black Water TanksAt your local dump and fill station, you can pay a small service fee to dump all the gray and black water. Allow extra time to ensure that the tanks are completely emptied. After you have emptied them, make sure you flush each tank thoroughly. If your RV doesn't have a built-in flushing system, use a cleaning wand or an external flushing system to clean out the tanks.
Step 3: Empty the Water HeaterThe next step is to empty your water heater. First, make sure that you’ve turned off the heat source and allowed ample time for the water to cool. Next, you can easily use a socket wrench to open up the pressure release and allow the water to drain. Make sure to turn the water pressure back on afterwards and flush out any sediment and residual residue for a few minutes.
Step 4: Bypass the Water HeaterIf your RV has a water heater bypass feature built-in, now is the time to activate it before you add antifreeze. If you do not have this feature, you’re going to want to have a bypass kit installed before winter.
Step 5: Empty the Low Point and Fresh Tank DrainsMake sure you have turned down the water pressure before you complete this RV winterization step. Remove the plugs to drain and make sure to close any faucet and low point drains after you’ve completed this task.
Step 6: Connect the System to AntifreezeMake sure you follow any manufacturer specifications here -- which generally include using a water pump converter kit or an existing water intake line to add antifreeze to your RV’s internal system to protect it against the cold winter weather ahead.
Step 7: Open All Valves and FaucetsBegin close to your water pump, opening hot and cold faucets until you start to see the antifreeze coming out. Do this for any faucet or water valve in your RV including the shower until you are certain that antifreeze has passed through them all.
Step 8: Flush the ToiletNow it’s time to do the same with any toilets, flushing until you see the antifreeze. This ensures that the toilet and septic system are winterized.
Step 9: Pour Antifreeze Down the DrainsNow you want to protect your drains. Simply pour one or two cups of antifreeze down every drain line in your RV to ensure each line is protected against freezine.
Step 10: Final PreparationsFinally, make sure your water heater is completely turned off and that you’ve closed all faucets. Your RV's water system should now be ready for winter storage.
Additional Tips for Winterizing Your RV
While the steps above primarily focus on winterizing your RV's water system, there are a few additional tasks that should be completed to fully prepare your RV for winter storage:
- Clean the Interior: Leaving food or waste behind could attract pests.
- Cover Your RV: If your RV will be stored outside, consider using a breathable cover to protect it from the elements.
- Check for Pests: Check your RV for any signs of pests and use repellents as necessary.
- Check Seals and Seams: Inspect your RV's seals and seams for any damage. Repair as needed to prevent water damage.
Let's Wrap This Up
Learning how to winterize your RV is an essential skill for any RV owner. By following the steps outlined above, you can ensure your RV is well-protected from the harsh winter weather, saving you time, money, and stress when it's time to hit the road again.
So, as the temperatures start to drop, make sure you're prepared to winterize your RV and give it the care it needs during the off-season. By taking the time to properly winterize your RV, you're investing in the longevity and performance of your vehicle for the many adventures that lie ahead. Safe travels!


