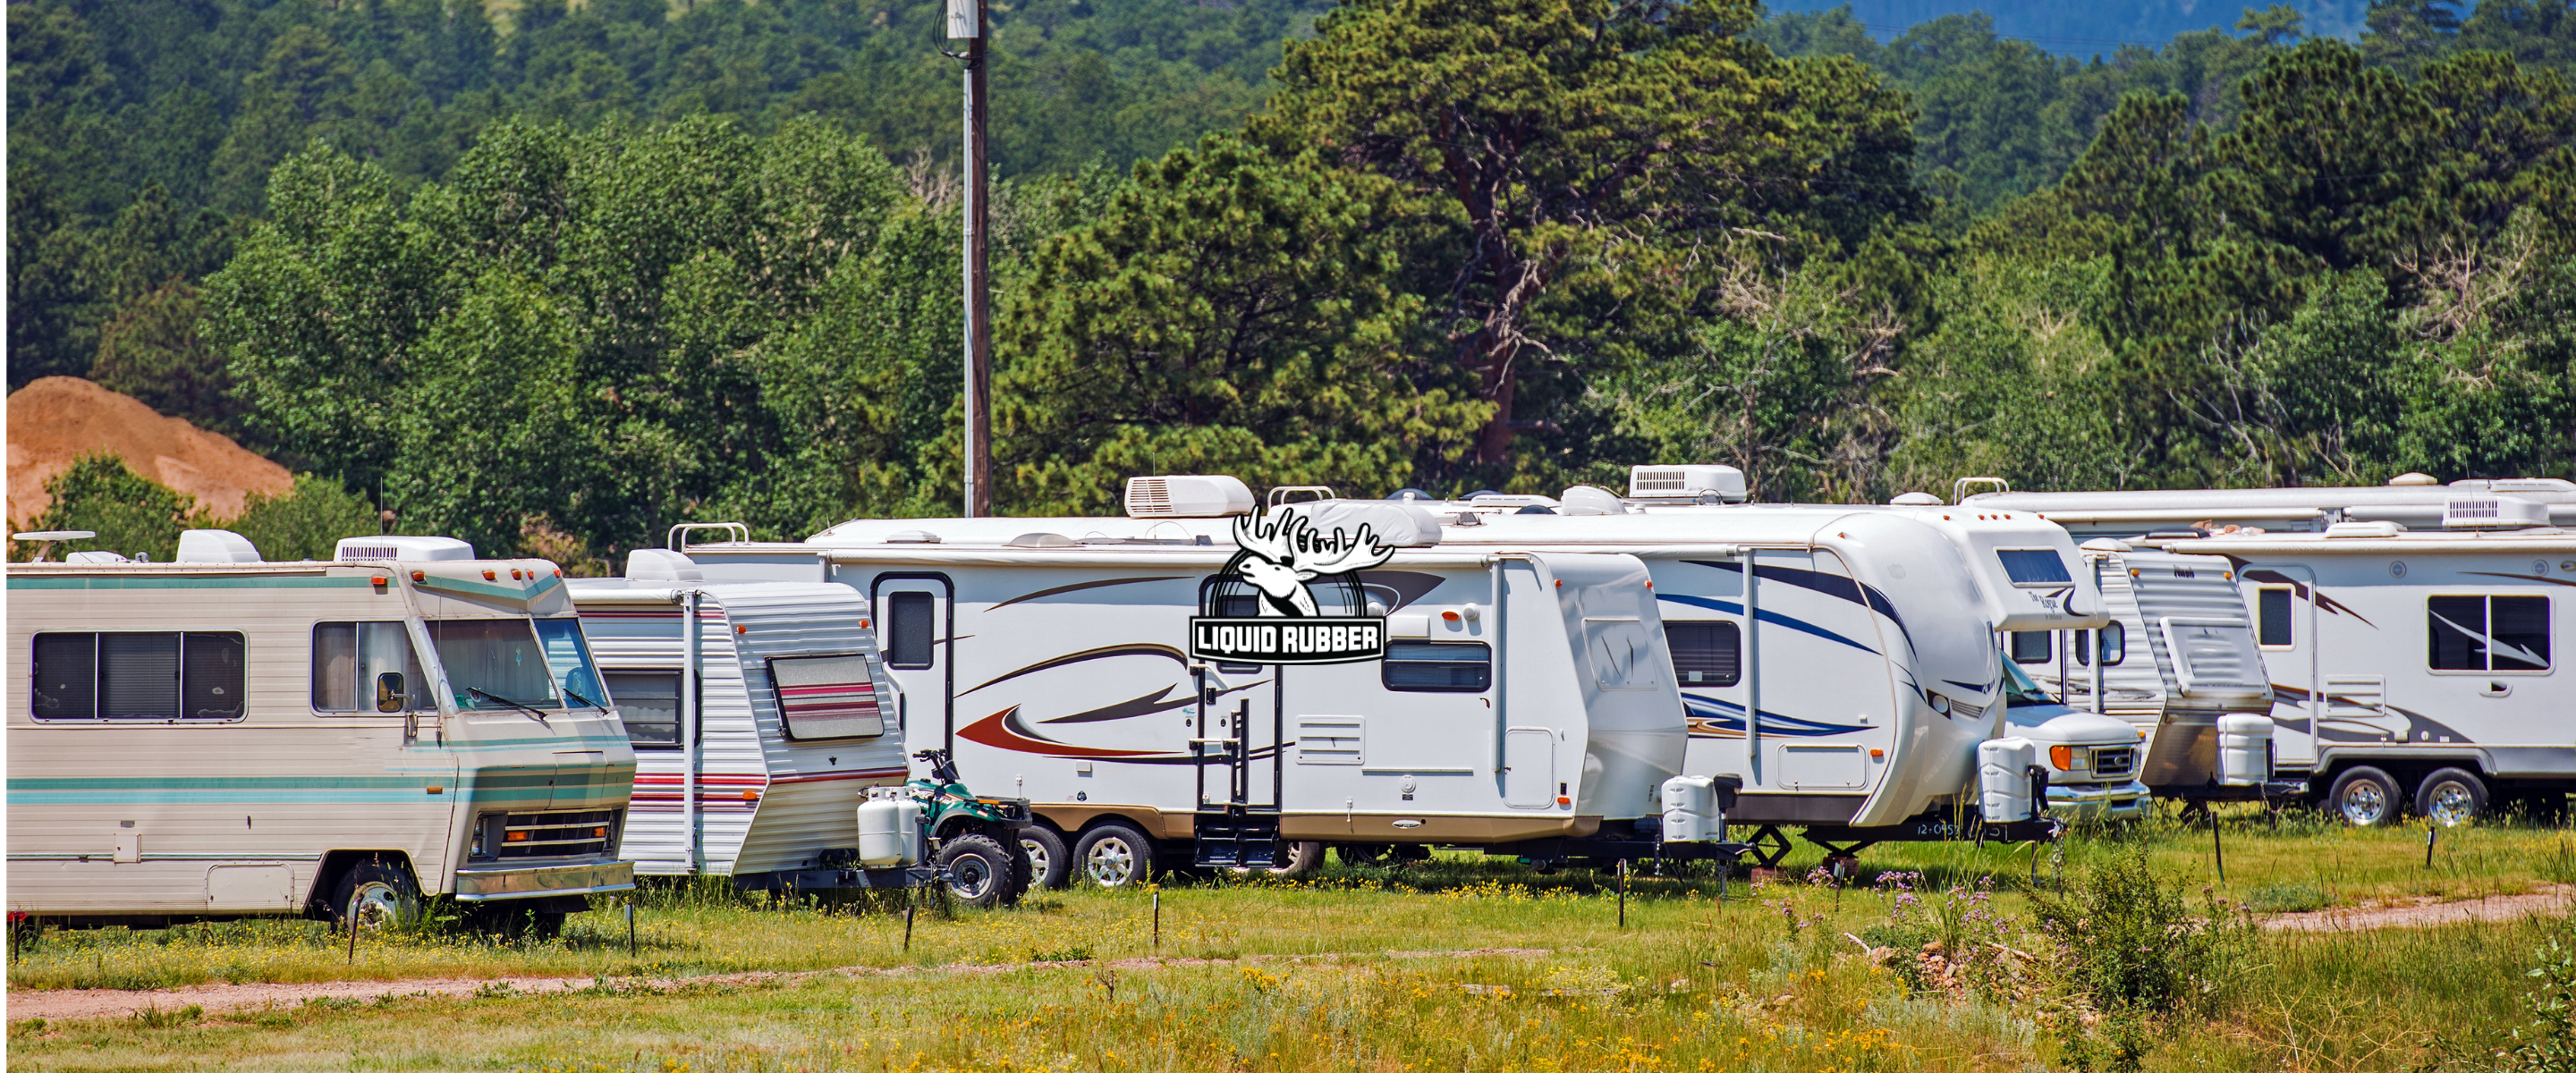
An RV can deliver years of enjoyment for you and your family, but unless your RV is well-maintained, it can quickly turn into a traveling money pit. Leaks are among the most common, and most costly, problems with RVs. You can save yourself the high costs and headaches that come with leaks by applying a high-quality RV rubber roof coating each year.
Need a full walkthrough? → Guide to RV Roof Sealing and Repair
What Makes RV Roofs Vulnerable to Leaks?
While most people think that leaks only impact older travel trailers and motorhomes, the fact is that any RV roof can leak — even on high-end, late-model units.
Unlike the roof on your house, your RV roof is subject to tremendous stressors that can cause leaks in less time than you might expect. Every time you travel down the road with your rig, the roof is subject to significant twisting that can lead to cracks in the seals around your skylights, roof vents and roof-mounted AC unit(s).
Your RV roof also takes a real beating from the sun, and UV exposure can cause the roof membrane to shrink, warp and crack, leading to leaks. Exposure to rain, ice and snow, as well as temperature fluctuations, can also contribute to problems with your roof. Once your RV roof leaks, chances are good that mold will develop inside your roof and walls, making your unit not only unsightly, but unsafe to occupy.
The good news is that you can prevent costly damage to your rig by applying a high-quality top coat for RVs on a regular basis. This is a relatively simply DIY project that can be completed in as little as a couple of days.
When Should You Apply RV Rubber Roof Coating?
You should apply a top coat for your RV every few years Whether you apply it at the beginning of the camping season, or before you close up your unit, is entirely up to you.
To apply Liquid Rubber RV Roof Coating, be sure to choose a dry, sunny day with temperatures above 50 degrees. You'll want to avoid working in direct sunlight or extreme heat, so time your project to start either first thing in the morning, or later in the afternoon. Keep in mind that, you'll need to leave each coat to cure for about 4-8 hours before adding another one.
How To Apply Top Coat for RV Roofs
Always ensure that your roof is completely clean and thoroughly dry before resurfacing it. Wash down your roof and rinse thoroughly with water. If you need to use an extension ladder, be sure to work safely and recruit a helper.
Starting on one side, gently pour the top coat for RV out onto your roof, using about 1/4 of the can at a time. Take a clean, lint-free roller and simply paint the coating onto your roof, taking care to ensure good coverage around the vents, antenna and any seams. Continue working in sections, completing the area closest to your ladder last so you can exit the roof without walking on any of the newly-resurfaced areas.
Wait until the first coat is no longer tacky to the touch before proceeding with additional coats.
Maintaining Your RV Rubber Roof Coating
Once you've coated and sealed your RV roof, be sure to follow a regular maintenance schedule. You should thoroughly wash your RV roof at least once every 2-3 months, and more often if you travel in areas impacted by high winds, dust storms or heavy air pollution. You'll also want to wash any tree sap and leaves off your roof as soon as possible, since these can cause damage to your rubber membrane.
When washing your RV, be sure to inspect all the roof openings. Check for cracks in the seals around your vents, and repair any damaged areas to prevent water and insects from entering your rig.
 Protect Your Investment With Liquid Rubber RV Rubber Roof Coating
Don't let water damage ruin your RV — keep your rig protected with professional-grade RV rubber roof coating from Liquid Rubber. Not only will regular applications of this high-quality top coat for RV roofs prevent costly water damage inside your 5th wheel, travel trailer or motorhome, but it will keep your RV factory-fresh and ready for your next adventure!


