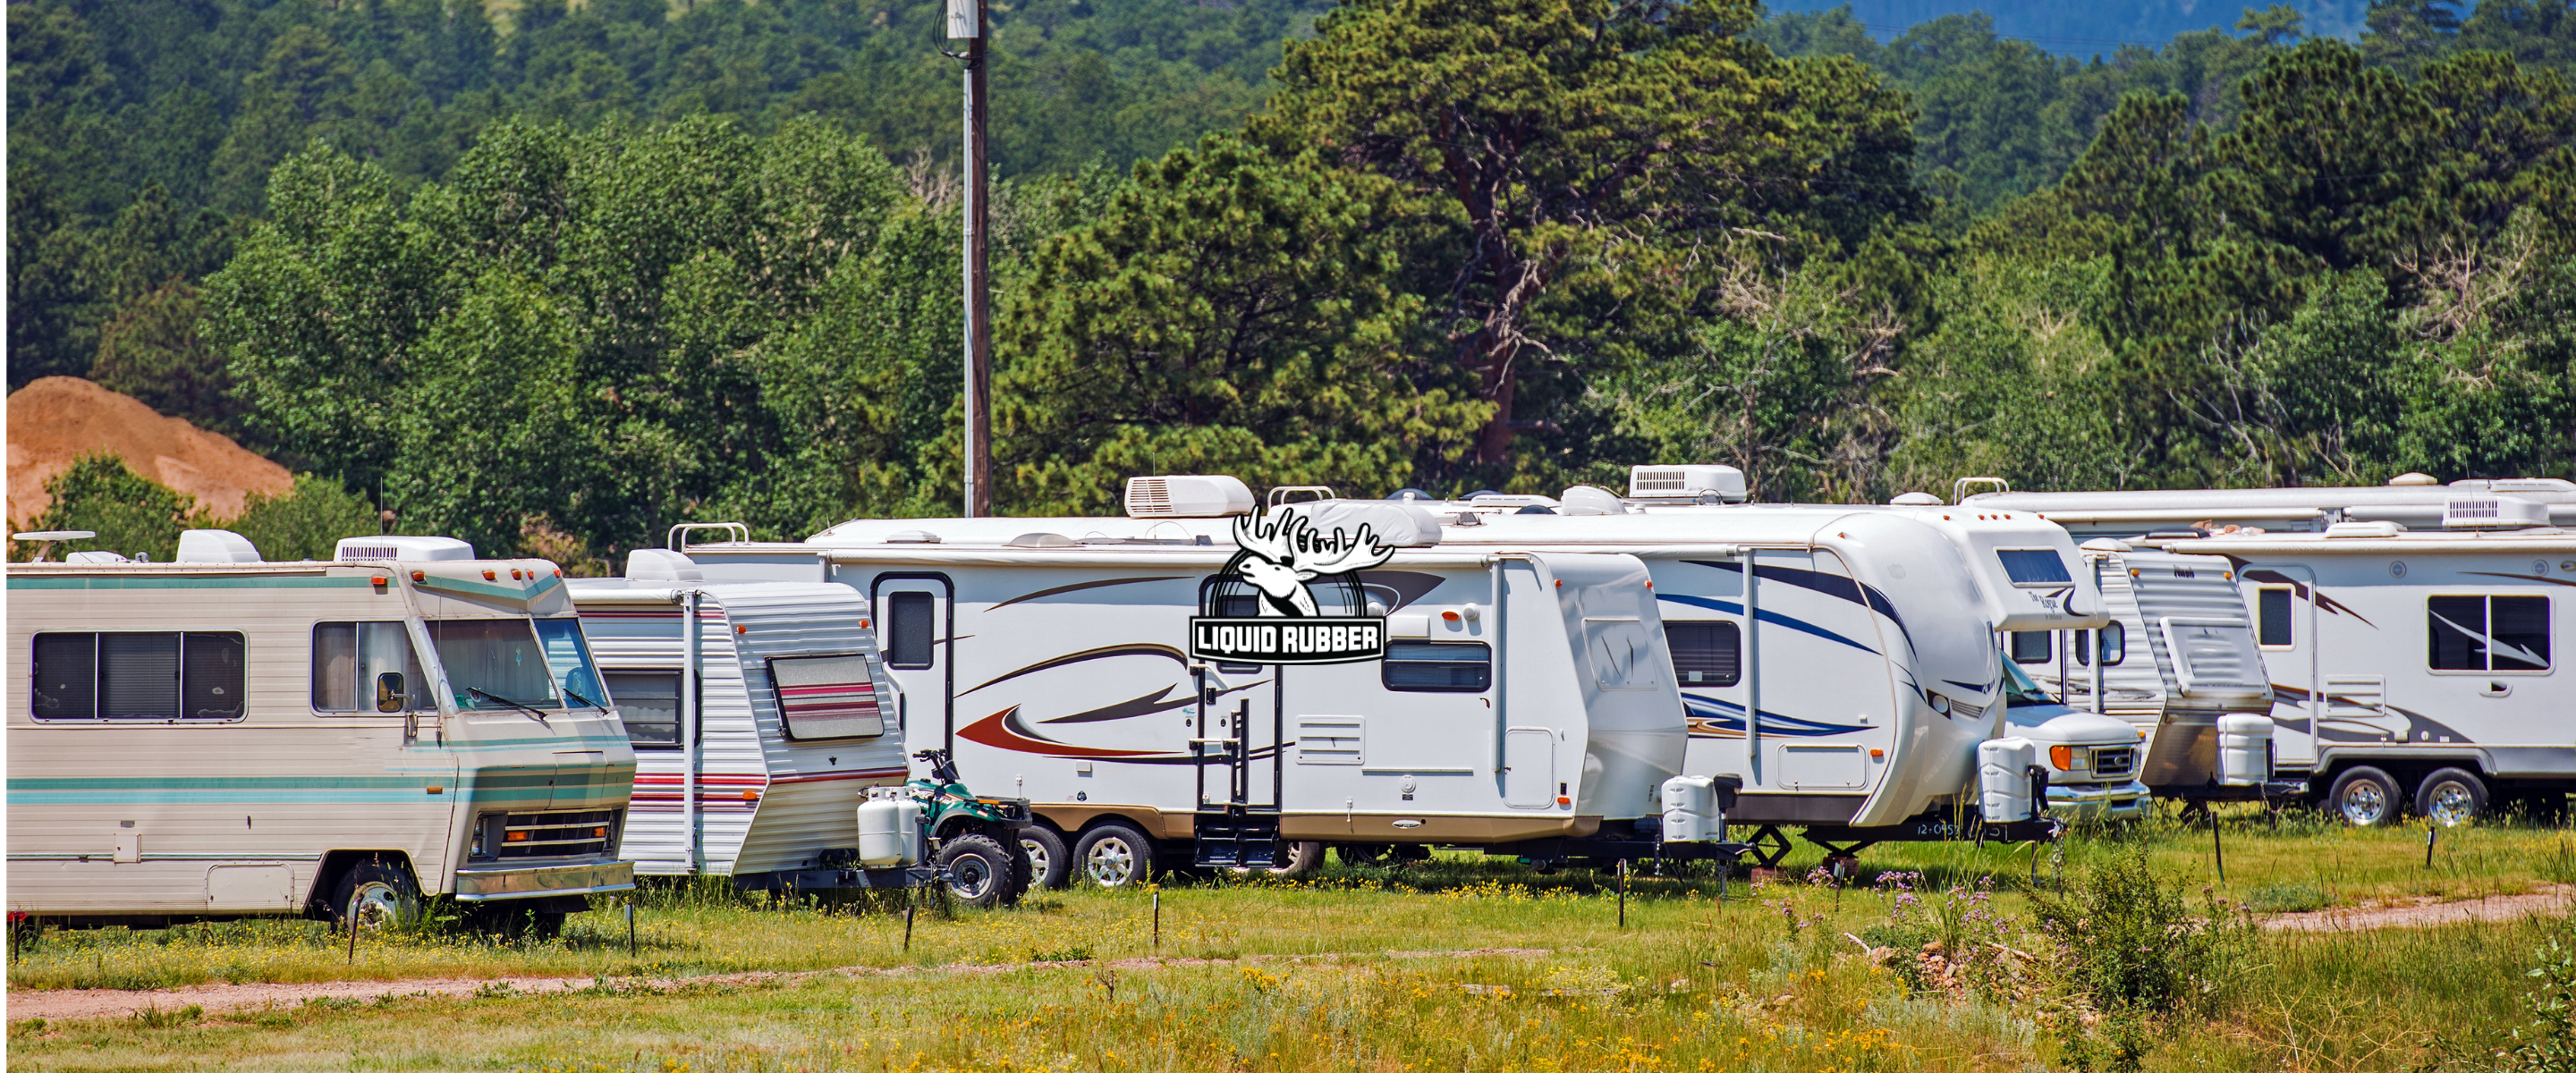
RV roof sealant is crucial for any RV owner, as it is one of the most important maintenance tasks they can perform to protect their vehicle. Water is an RV's worst enemy, and a leak can lead to a host of problems like rot, mold, and frame failure. The good news is that the right sealant can prevent water from seeping in and damaging your RV, helping you preserve your roof for years to come and avoid costly replacements along the way with proper maintenance.
Need a full walkthrough? → Guide to RV Roof Sealing and Repair
Types of RV Roof Sealant
There are various types of RV roof sealant depending on the job you need to do. For most RV roof jobs, self-leveling RV roof sealant like our RV Roof Coating is a good option. This sealant levels itself out when applied to a flat surface, ensuring a smooth, even application. It's good for sealing seams around vents, skylights, and other rooftop accessories.
- Non-sag RV sealant is another option. This type of sealant is best for vertical surfaces, as it is designed to stay in one place without dripping.
- RV sealant tape is another option, which is best for patching small holes and rips in a rubber roof.
- Another option is an RV roof patch kit, which can be a good choice for those who prefer a cleaner look.
Avoiding the Wrong Products
While there are many good products to choose from, there are also some products that you should avoid. Silicone sealants, for example, will not bond with other sealants and won't stay in place during travel. Likewise, FlexSeal is not a good choice for RV roofs, as it can ruin the roof. Finally, any product that is not compatible with your RV roof type should be avoided, as it can cause damage.
Determining Your RV Roof Type
There are four main types of RV roofs: EPDM rubber, TPO rubber, fiberglass, and aluminum. While it is easy to tell if you have an aluminum or fiberglass roof, determining whether you have a TPO or EPDM roof can be a bit trickier. A quick online search can help you make this determination.
Walkable vs Non-Walkable RV Roofs
Before resealing your RV roof, you need to determine if you have a walkable roof. Some RV roofs can support your weight, while others cannot. If you're unsure, you can call the manufacturer to find out. If the roof is not walkable, you'll need to move your ladder around while working to reach all the areas you need to reseal.
How to Reseal Your RV Roof
Resealing your RV roof is a fairly straightforward process, but it's important to choose the right day to do it. You want to work in warm and sunny weather, as this will allow the sealant to cure properly.
Start by cleaning the areas you want to reseal. Use a gentle cleaning product if necessary, but make sure it doesn't contain citrus, petroleum distillates, or mineral spirits (our RV Roof Smart Cleaner is ideal for this). Next, load your caulking gun with the sealant of your choice. Make sure to cover all the areas you want to seal, paying special attention to trouble spots. If you find any holes or rips, patch them as soon as possible.
RV Roof Coating
In some cases, RV roofs will need an RV roof coating in addition to sealant. This is especially true for EPDM roofs, which benefit from recoating every 5 to 10 years. RV roof coating can extend the life of your roof and keep it in good condition for longer.
Sealing Other Parts of Your RV
While resealing your RV roof is important, it's not the only part of your vehicle that needs attention. Windows, storage bays, and corners all need to be sealed from time to time, as well. Non-sag RV sealant is usually the best option for these areas, but sometimes it's necessary to remove the window or door and replace the butyl tape.
Using Liquid Rubber RV Roof Sealant
One of the best RV roof sealant products on the market is made by Liquid Rubber. It is easy to apply, long-lasting, and can help protect your RV roof from water damage. To use it, start by cleaning the roof thoroughly and making sure it is completely dry. Apply the sealant using a brush, roller, or sprayer. Make sure to coat the entire roof, and pay special attention to any seams, vents, or skylights. Allow the sealant to dry for at least 24 hours before exposing it to water.
Let's Sum It All Up
Sealing your RV roof is an important maintenance task that shouldn't be overlooked. By choosing the right RV roof sealant, cleaning the area thoroughly, and following the proper steps, you can protect your RV from water damage and extend its lifespan.


