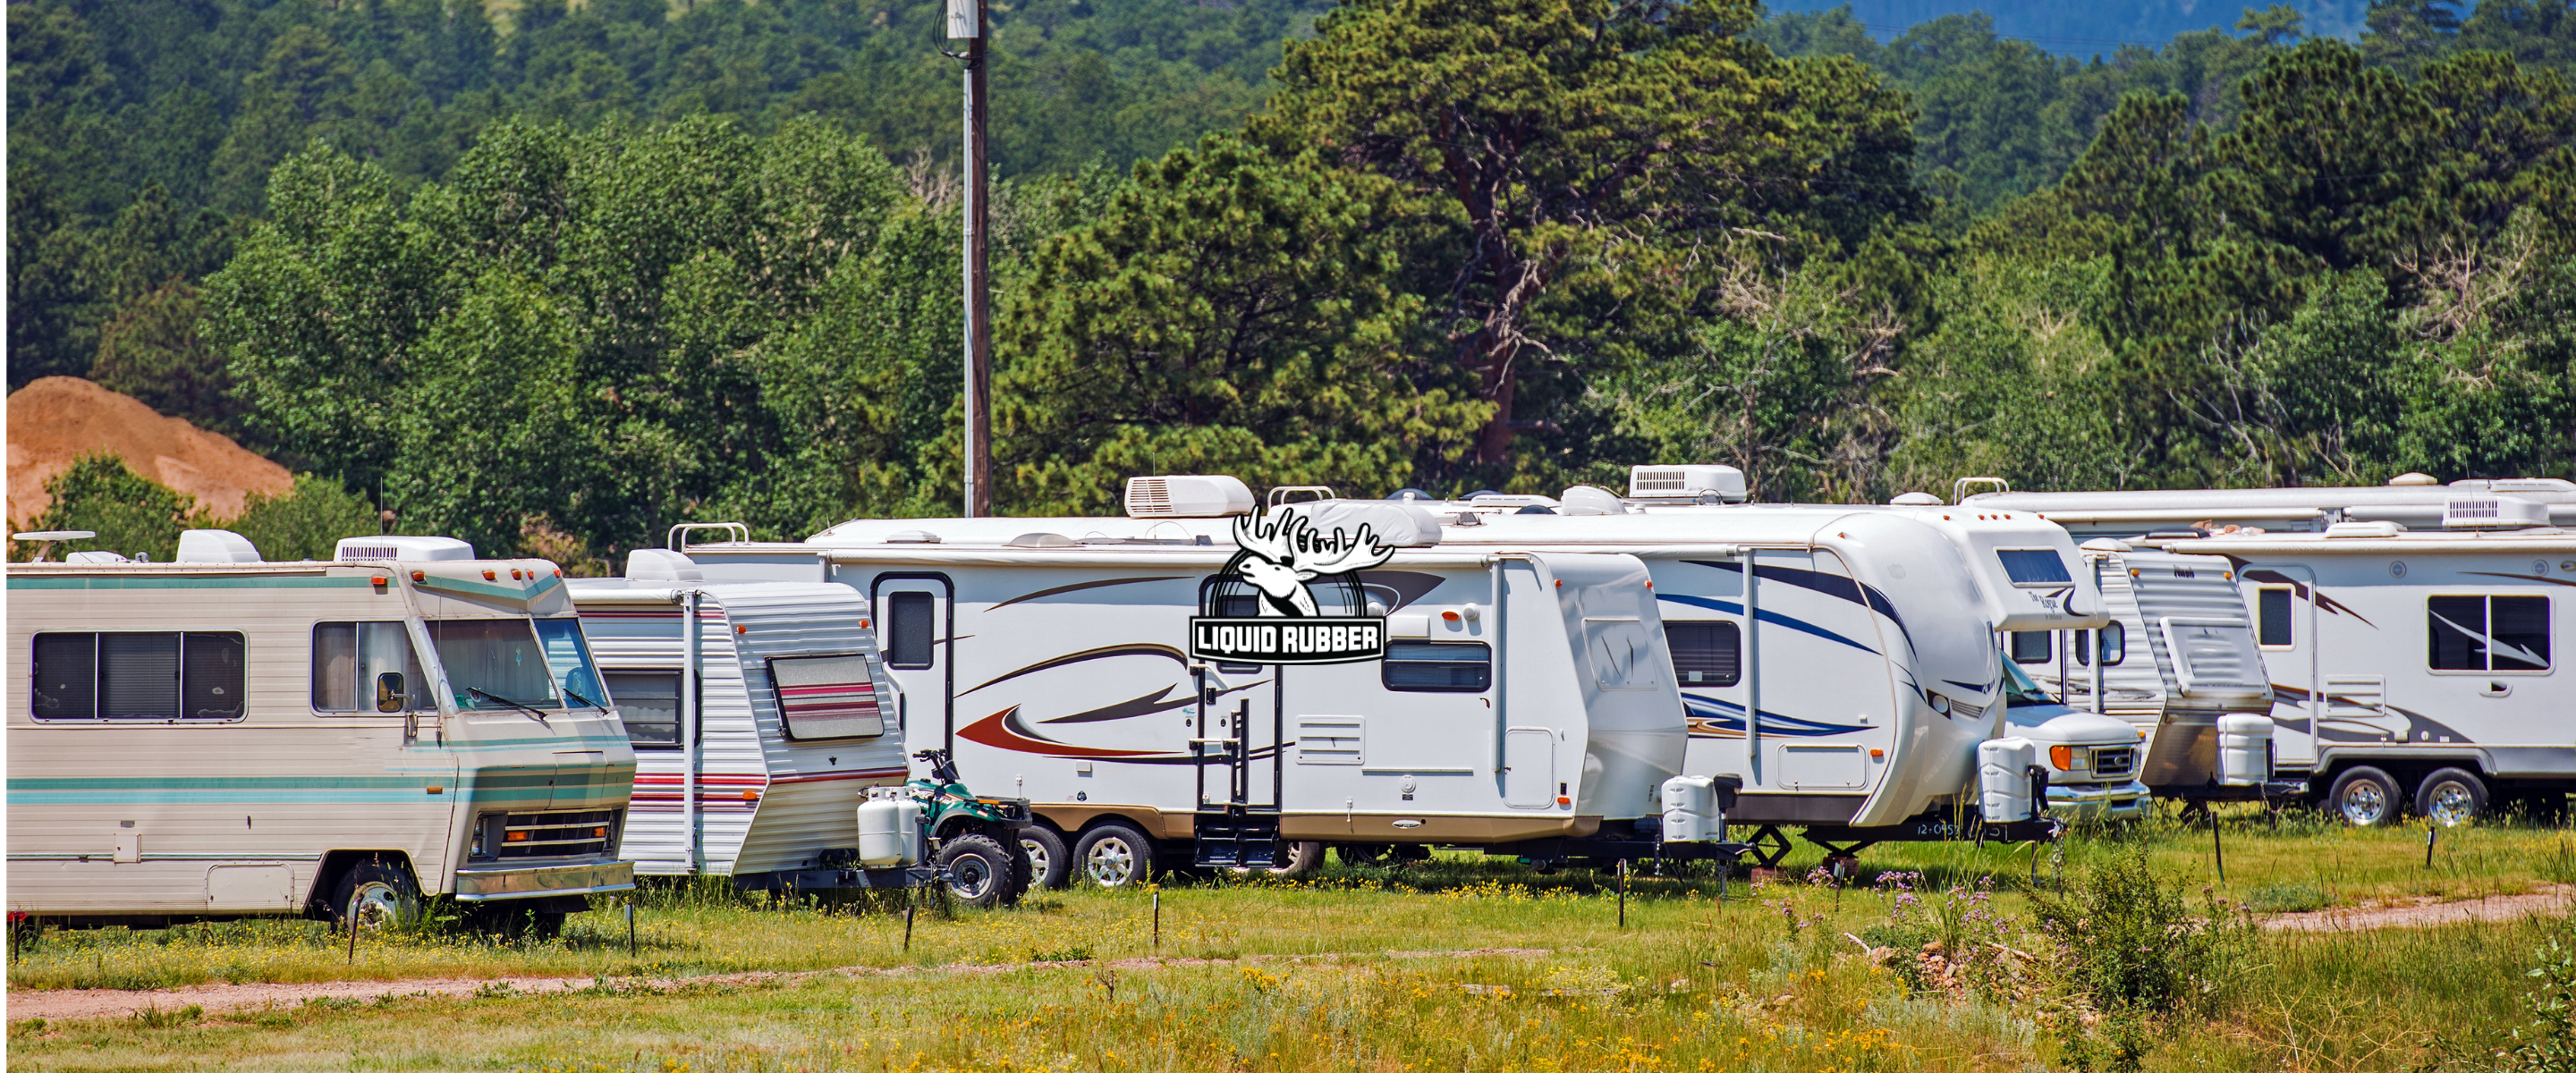
There's nothing better than hitting the open road in your home-on-wheels. More than likely, you took steps to winterize your RV for winter, which was smart thinking. But before you can embark on your spring adventures, it's important to dewinterize your RV like a pro.
Understanding What Dewinterizing Means
Dewinterizing is the process of preparing your RV for use after it has been stored for the winter. Much like you would winterize your RV for the colder months, dewinterizing is the opposite of winterizing and involves reversing the steps taken to prepare your RV for storage.

How to Dewinterize Your RV
Dewinterizing your RV is important because it ensures that your RV is in good working condition and ready for use. Neglecting to do so can result in damage to your RV's systems and can even cause safety hazards.
Taking the time to dewinterize your RV before spring will help you avoid costly repairs and keep you safe on the road. Here’s an outline of the necessary steps you’re going to want to take before hitting the wide open road.
-
Inspecting Your RV After Winter Storage: Check for any damage or issues that may have occurred during storage, such as leaks, cracks, or pests. It's also a good idea to check your RV's tires for damage or low pressure. Remember that if you do find any leaks or roof damage, Liquid Rubber RV Roof Sealing is the fast, cost effective and eco-friendly solution to patching up your roof in a snap.
-
Water System Checks and Precautions: Next, you'll want to check your RV's water system. Start by flushing out the antifreeze that was used to winterize your RV. Then, sanitize your RV's fresh water system by using a water and bleach solution. Finally, run water through all of your RV's faucets and check for leaks.
-
Electrical System Checks: After checking your RV's water system, move on to the electrical system. Check your RV's batteries and make sure they are fully charged. Test all of your RV's lights, appliances, and electrical outlets to make sure they are in good working condition.
-
Propane System Checks: Make sure to also inspect your RV's propane system. Check all propane tanks and lines for leaks or damage. Test your RV's propane appliances to make sure they are working properly.
-
Exterior and Interior Cleaning: After checking your RV's systems, it's time to give your RV a thorough cleaning. Wash the exterior of your RV and clean the windows. Clean the interior of your RV, including the floors, walls, and furniture. Don't forget to clean out any storage compartments and drawers.
Time to Hit the Open Road!
Dewinterizing an RV is an important step in preparing your RV for spring adventures. By following these steps, you can ensure that your RV is in good working condition and ready for the road ahead.
After you've finished, it's time to prepare for your first spring RV trip. Make sure to check the weather forecast and pack accordingly. Stock up on food, water, and other supplies. Finally, plan your route and make any necessary reservations. Most importantly of all: enjoy the wide open road and safe journeys!
Liquid Rubber should be part of your RV Roof Sealing plans.
Liquid Rubber is the preferred solution for many homeowners and DIY enthusiasts, with easy-to-apply products and video tutorials that help you get the best results. Browse our online catalog to see our products, and easily order all the supplies we've featured here.


