Purchase Everything You Need For This Project

Shower Waterproofing

48 hours
Beginner
2
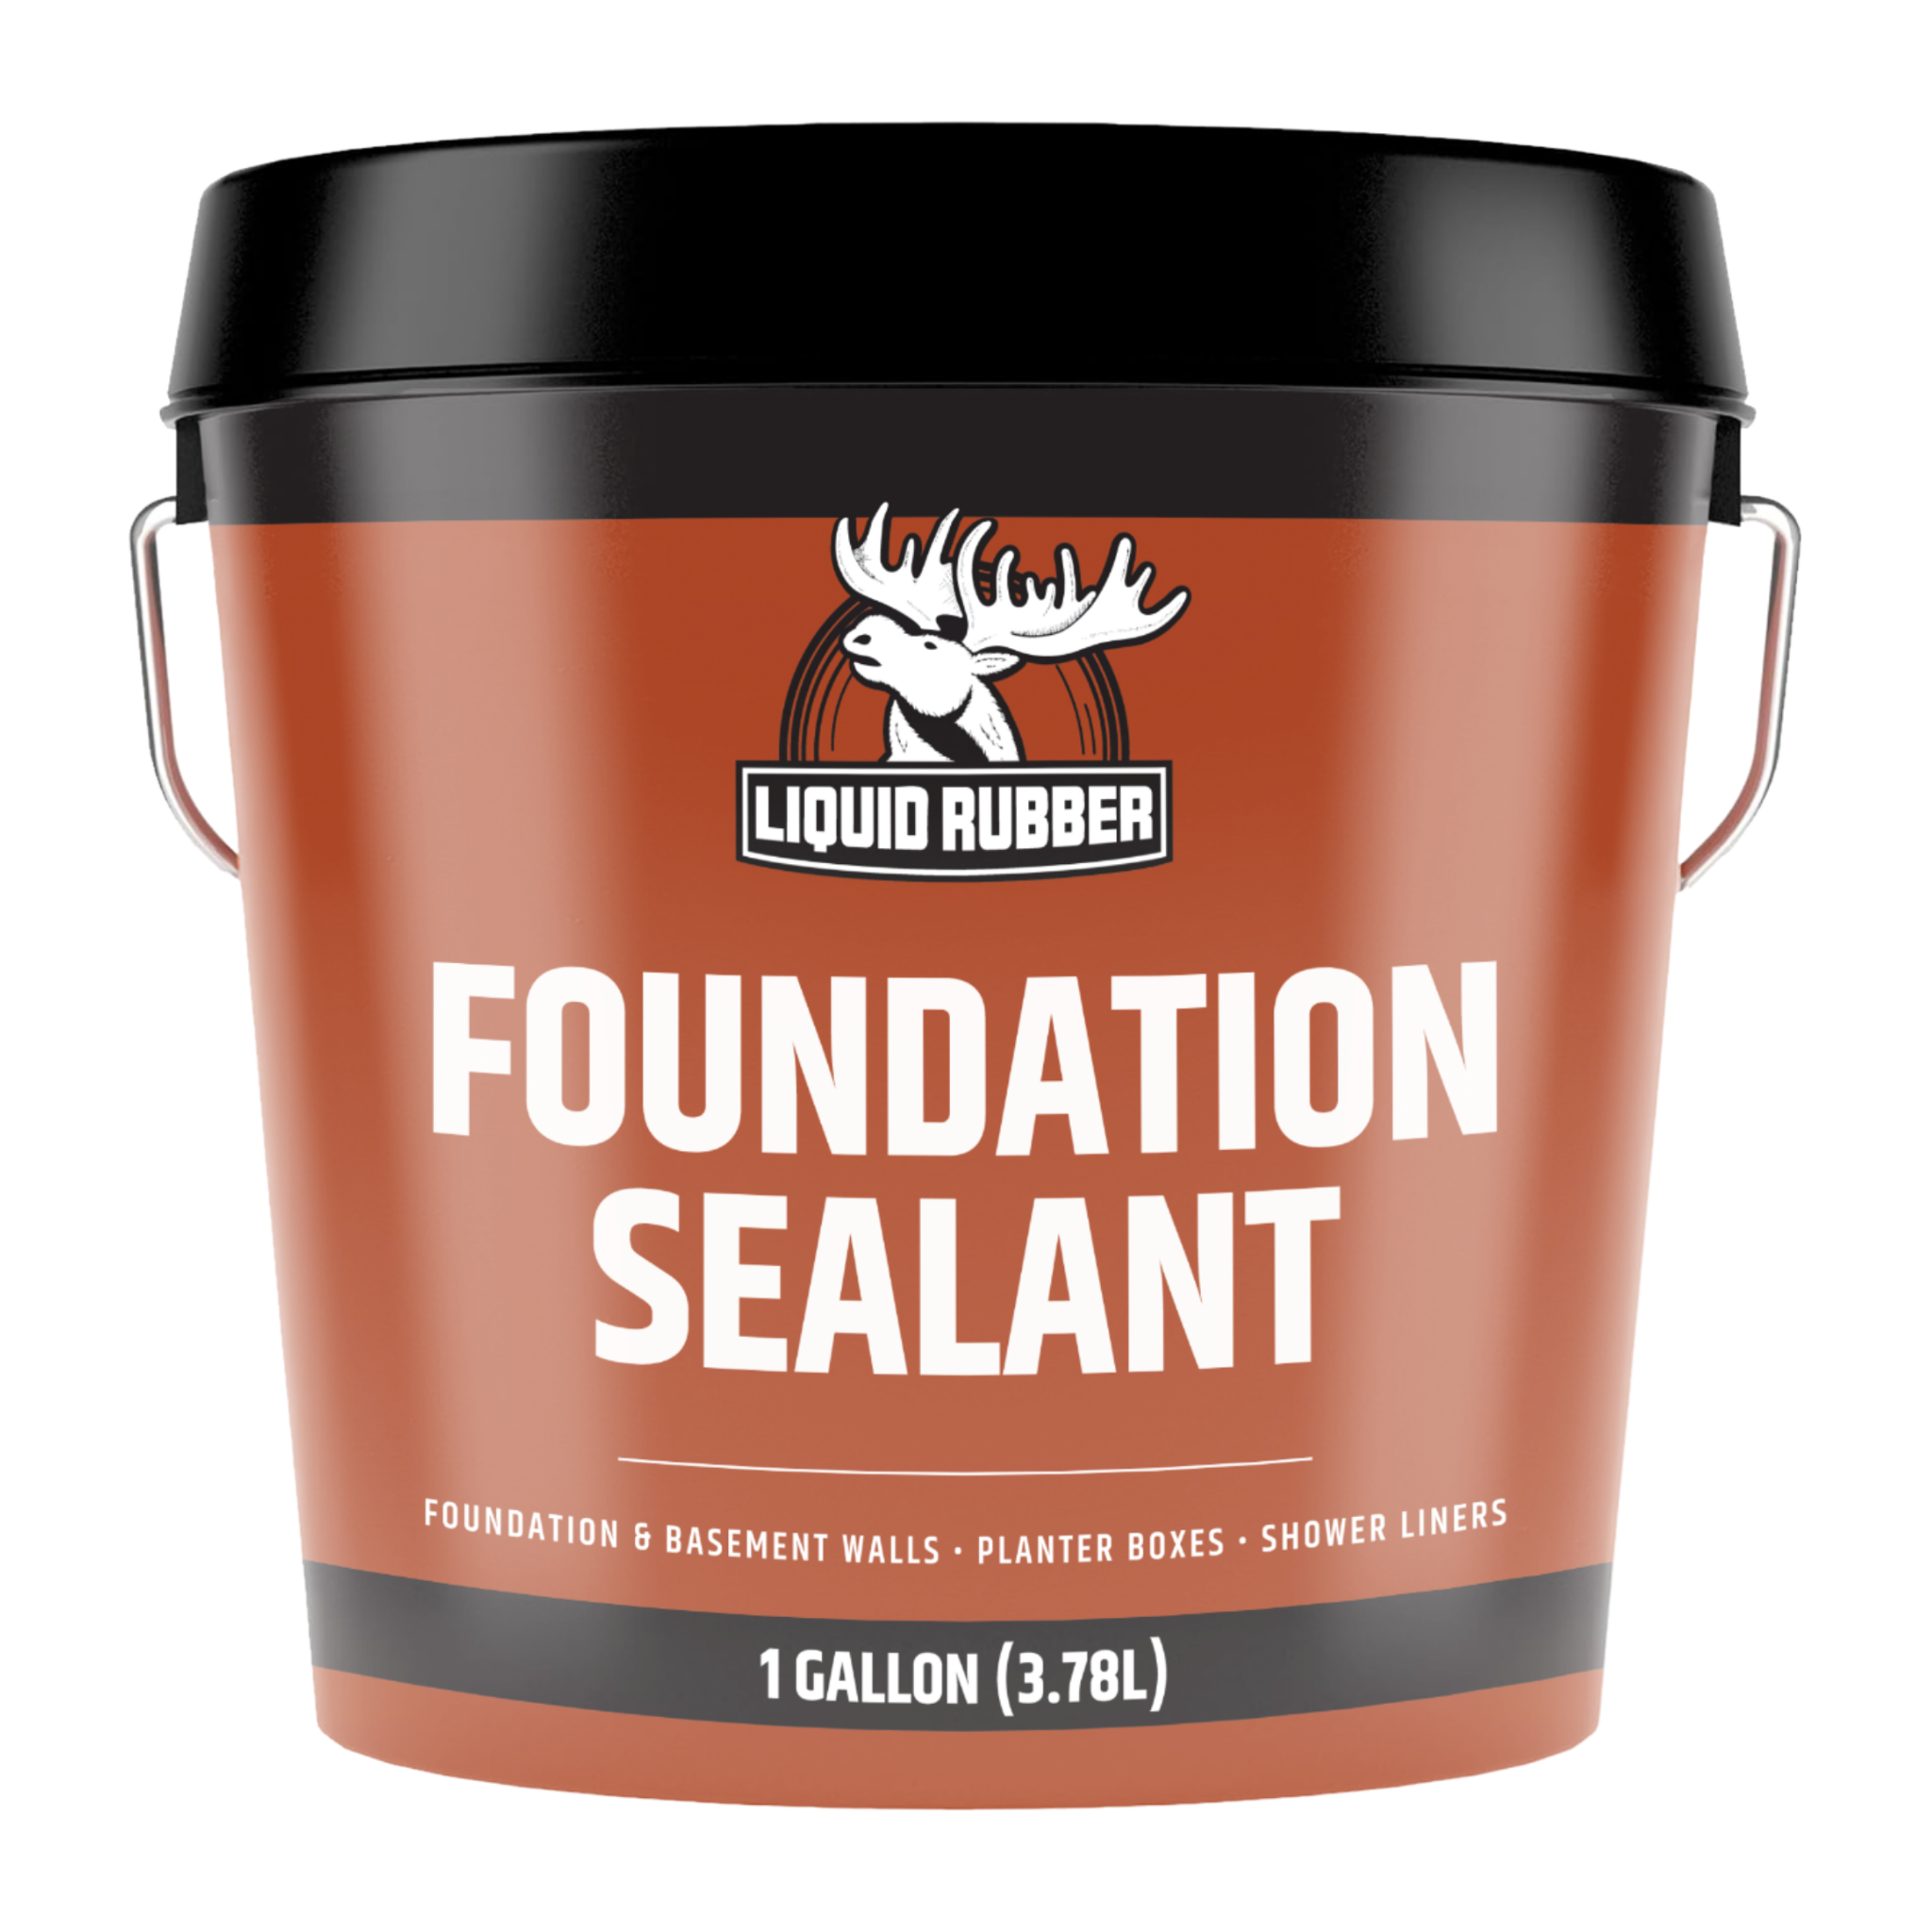
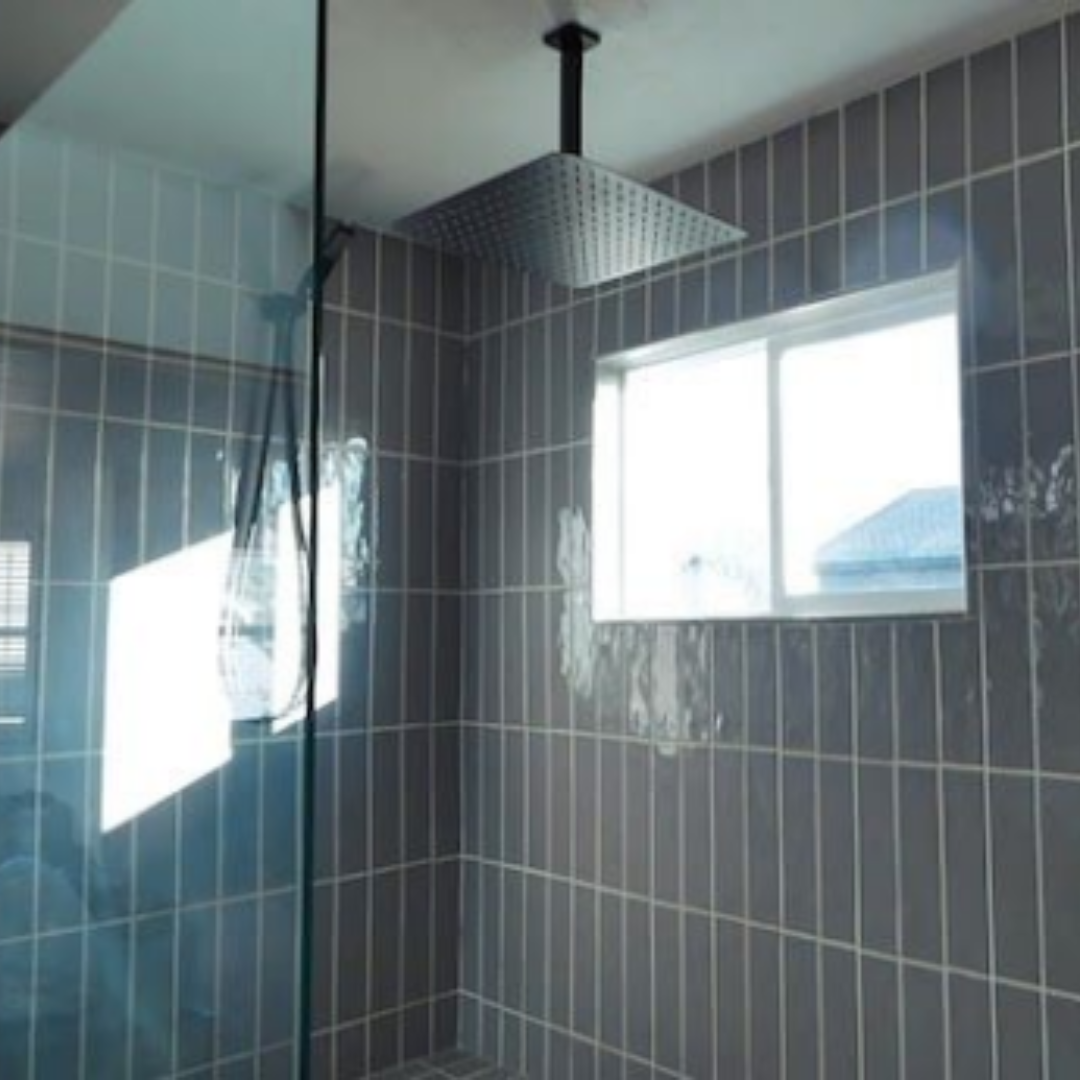
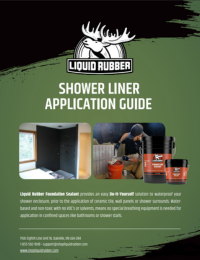
Keeping moisture out to prevent wall damage is challenging within a shower. Foundation sealant helps you seal your shower to create a long-lasting membrane that acts as a barrier, so that your walls are protected.
Not Sure How Much To Order?
Prep Your Shower
Step-By-Step Project Walkthrough

Do not combine black products with colored products.
Prepare Your Space and Gather Your Materials
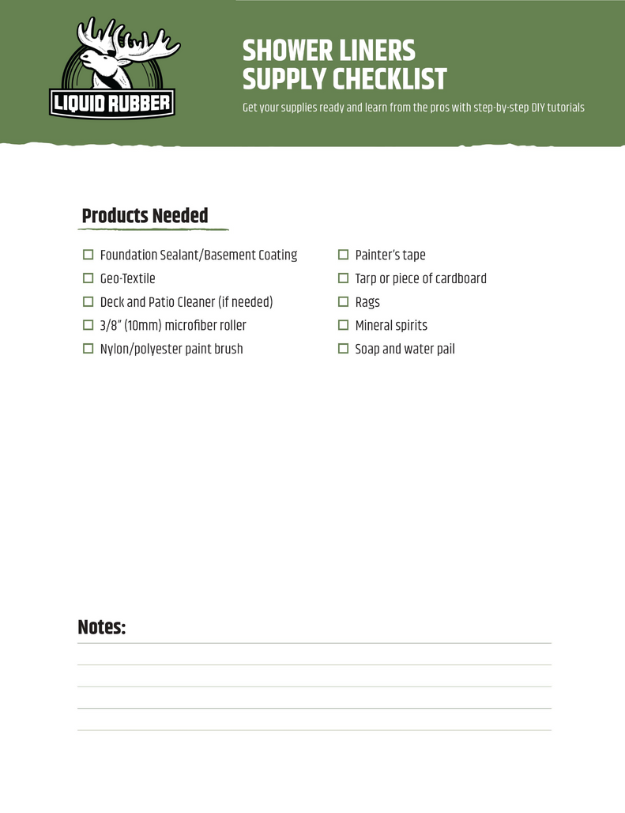
Make sure surfaces are clean, dry and troweled or sanded smooth. Gather your products needed.
Detail Work
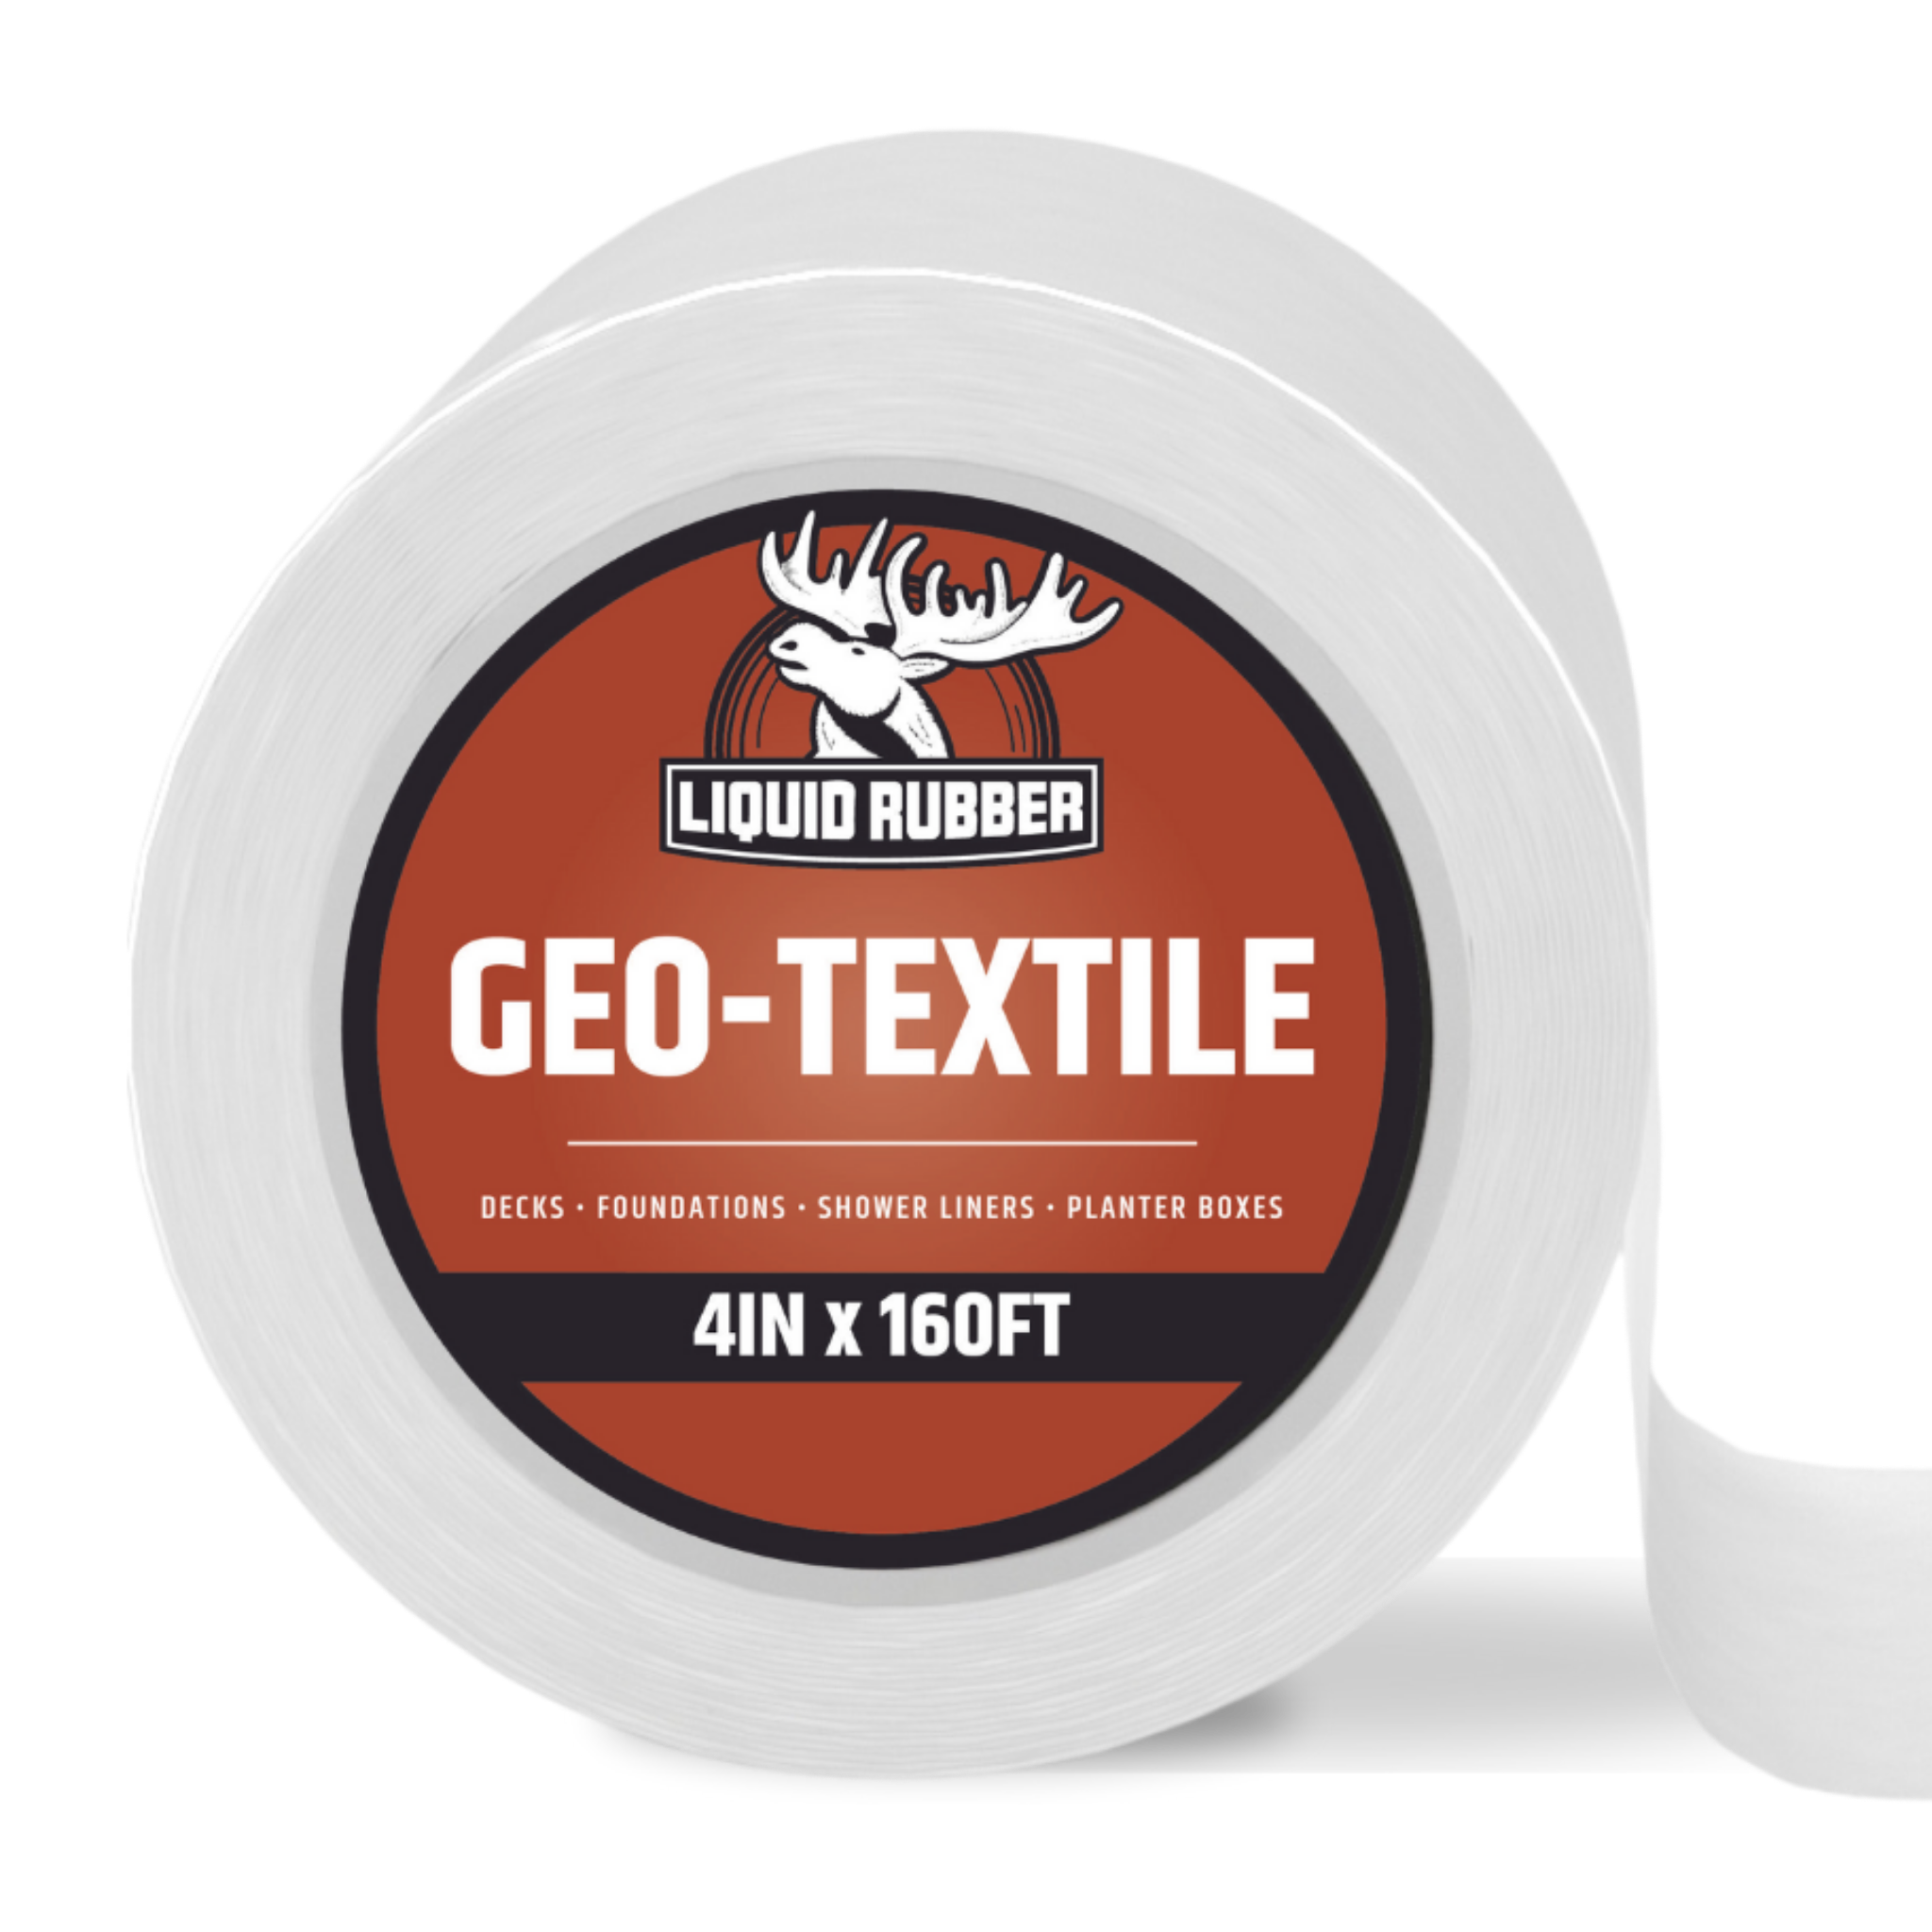
Bridge seams, cracks corners and transitions using the 3-course method of Geo-Textile and Foundation Sealant. Apply 6” wide coat of sealant and while still wet embed Geo-Textile fabric (fuzzy side down). Smooth out wrinkles and allow to set up for an hour before apply a second coat of Foundation sealant on top to fully saturate Geo-Textile. Allow to dry. Drains: Drains should have a clamping ring with open weep holes for thin-set application. Apply Foundation Sealant to the bottom of the flange. The drain should be fully supported, without movement, and even with the plane of the substrate. Apply Foundation Sealant around the drain. Embed GeoTextile fabric (fuzzy side down) into the coating around the drain while still wet, making sure it does not obstruct the drainage weep holes. Apply an additional coat and smooth. After curing, clamp the upper flange onto the membrane and tighten. Use Liquid Rubber Caulking around the flange prior to clamping the upper flange to the cured membrane.

IT IS ALWAYS A GOOD IDEA TO APPLY A SMALL TEST PATCH IN AN INCONSPICUOUS AREA TO ENSURE ADEQUATE ADHESION PRIOR TO FULL APPLICATION
Masking
Tape-off, block-off, or otherwise mask area’s that are not to receive Foundation Sealant.
Apply Coating
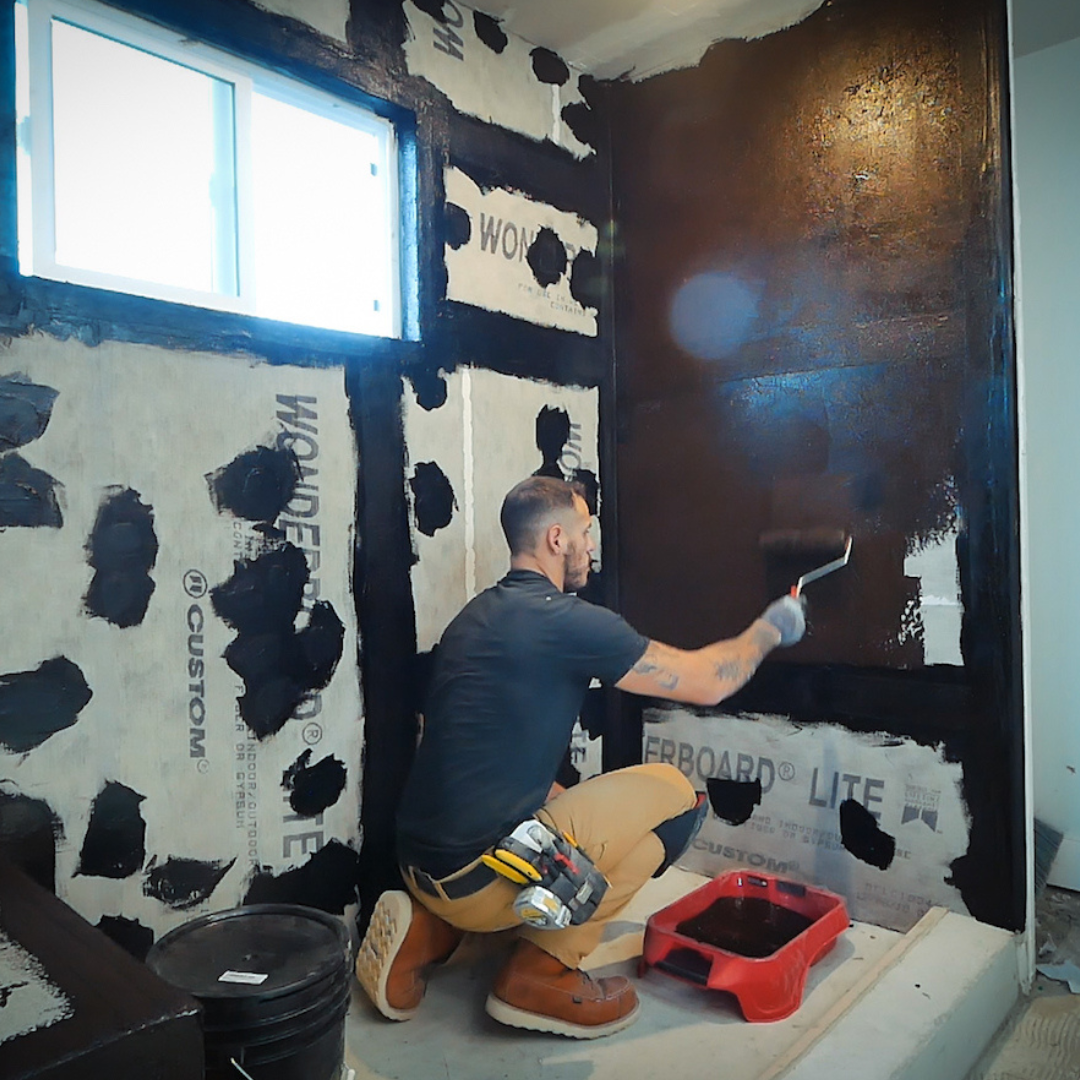
Using a 3/8” (10mm) microfiber roller, apply 3-4 generous coats of Foundation Sealant to entire surface, taking care not to allow the material to drip or puddle. For edges, corners or around pipes, apply product with a Nylon/Polyester brush. It should require around 3-4 heavy coats to achieve a 40-60 mil. (1-1.5mm) (DFT) membrane, allowing 6-8 hours dry time between coats depending on temperature and relative humidity. You can recoat once the material is dry to the touch with nothing wet underneath and uniform in color. Apply each coat at a right angle to the prior coat, to ensure even coverage. In a well-ventilated area with airflow, allow 24-48 hours curing after the final coat before the application of modified thinset and tiles. The coating should dry to the touch with nothing wet underneath and be uniform in color before installation of thinset and tile.
Inspect and Protect
Inspect for pinholes, blisters, voids, thin spots or other defects. Repair as necessary.
Clean Up
Remove tape while still wet and close container to secure leftover product. If spillage occurs, soak up as much material as possible with rags. Clean immediately with soap and water. If spill is dried, scrape off as much as possible with a razor or scraper. Use mineral spirits to weaken product and an appropriate tool such as a wire brush or grinder to mechanically remove. If splashed on the skin immediately wash thoroughly with fresh water. If the product has dried on the skin massage the area with medical grade mineral oil, baby oil or edible oil, then wash with soap and water. If irritation persists seek medical attention.
OUR TEAM OF EXPERTS ARE STANDING BY TO HELP MAKE SURE YOUR PROJECT IS A SUCCESS. CALL OR EMAIL US AT
1-855-592-1049 support@shopliquidrubber.com