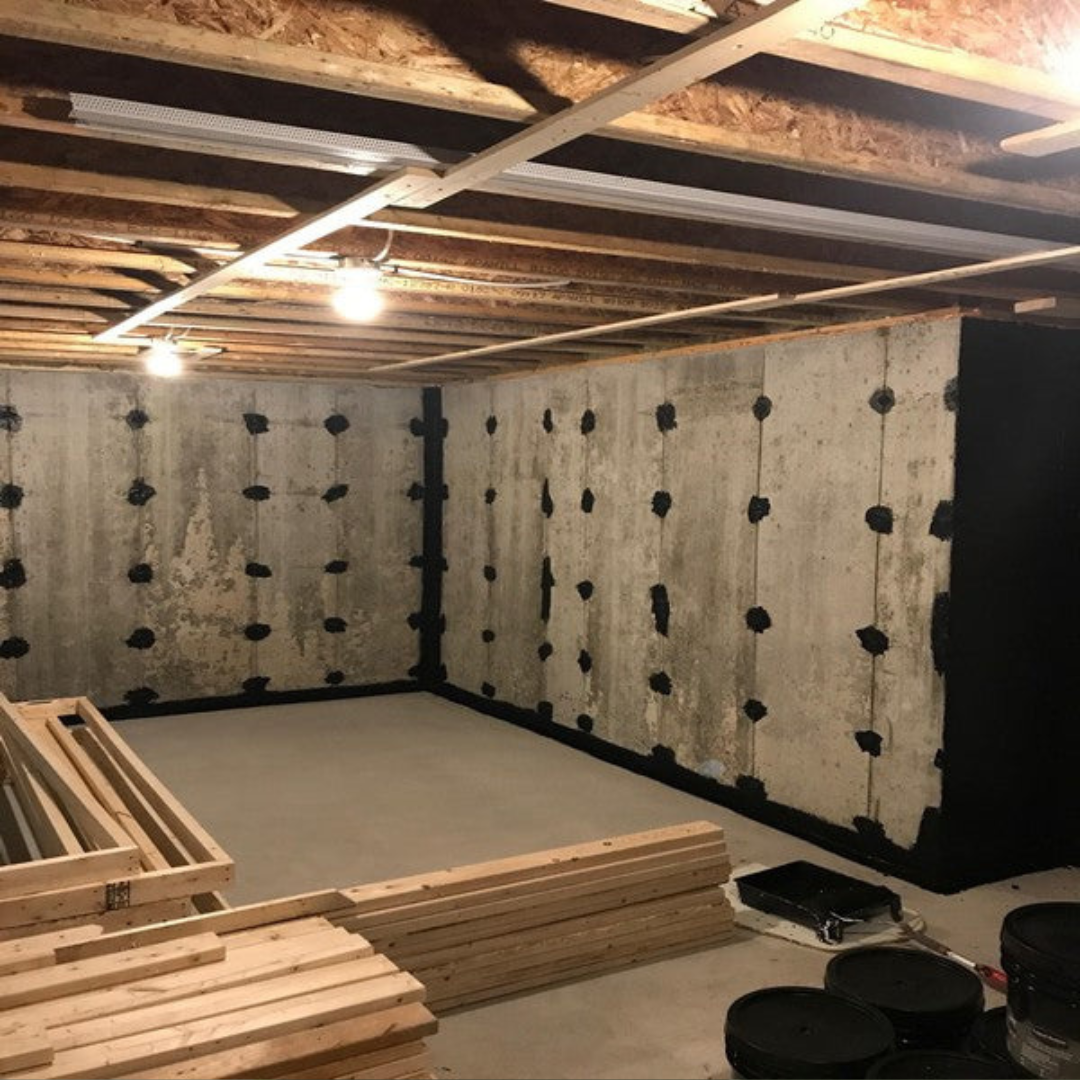
Basement Sealing

Carpet staircase leading down to basement
Time To Complete

48 hours

Difficulty Level

Beginner

Products Needed

3

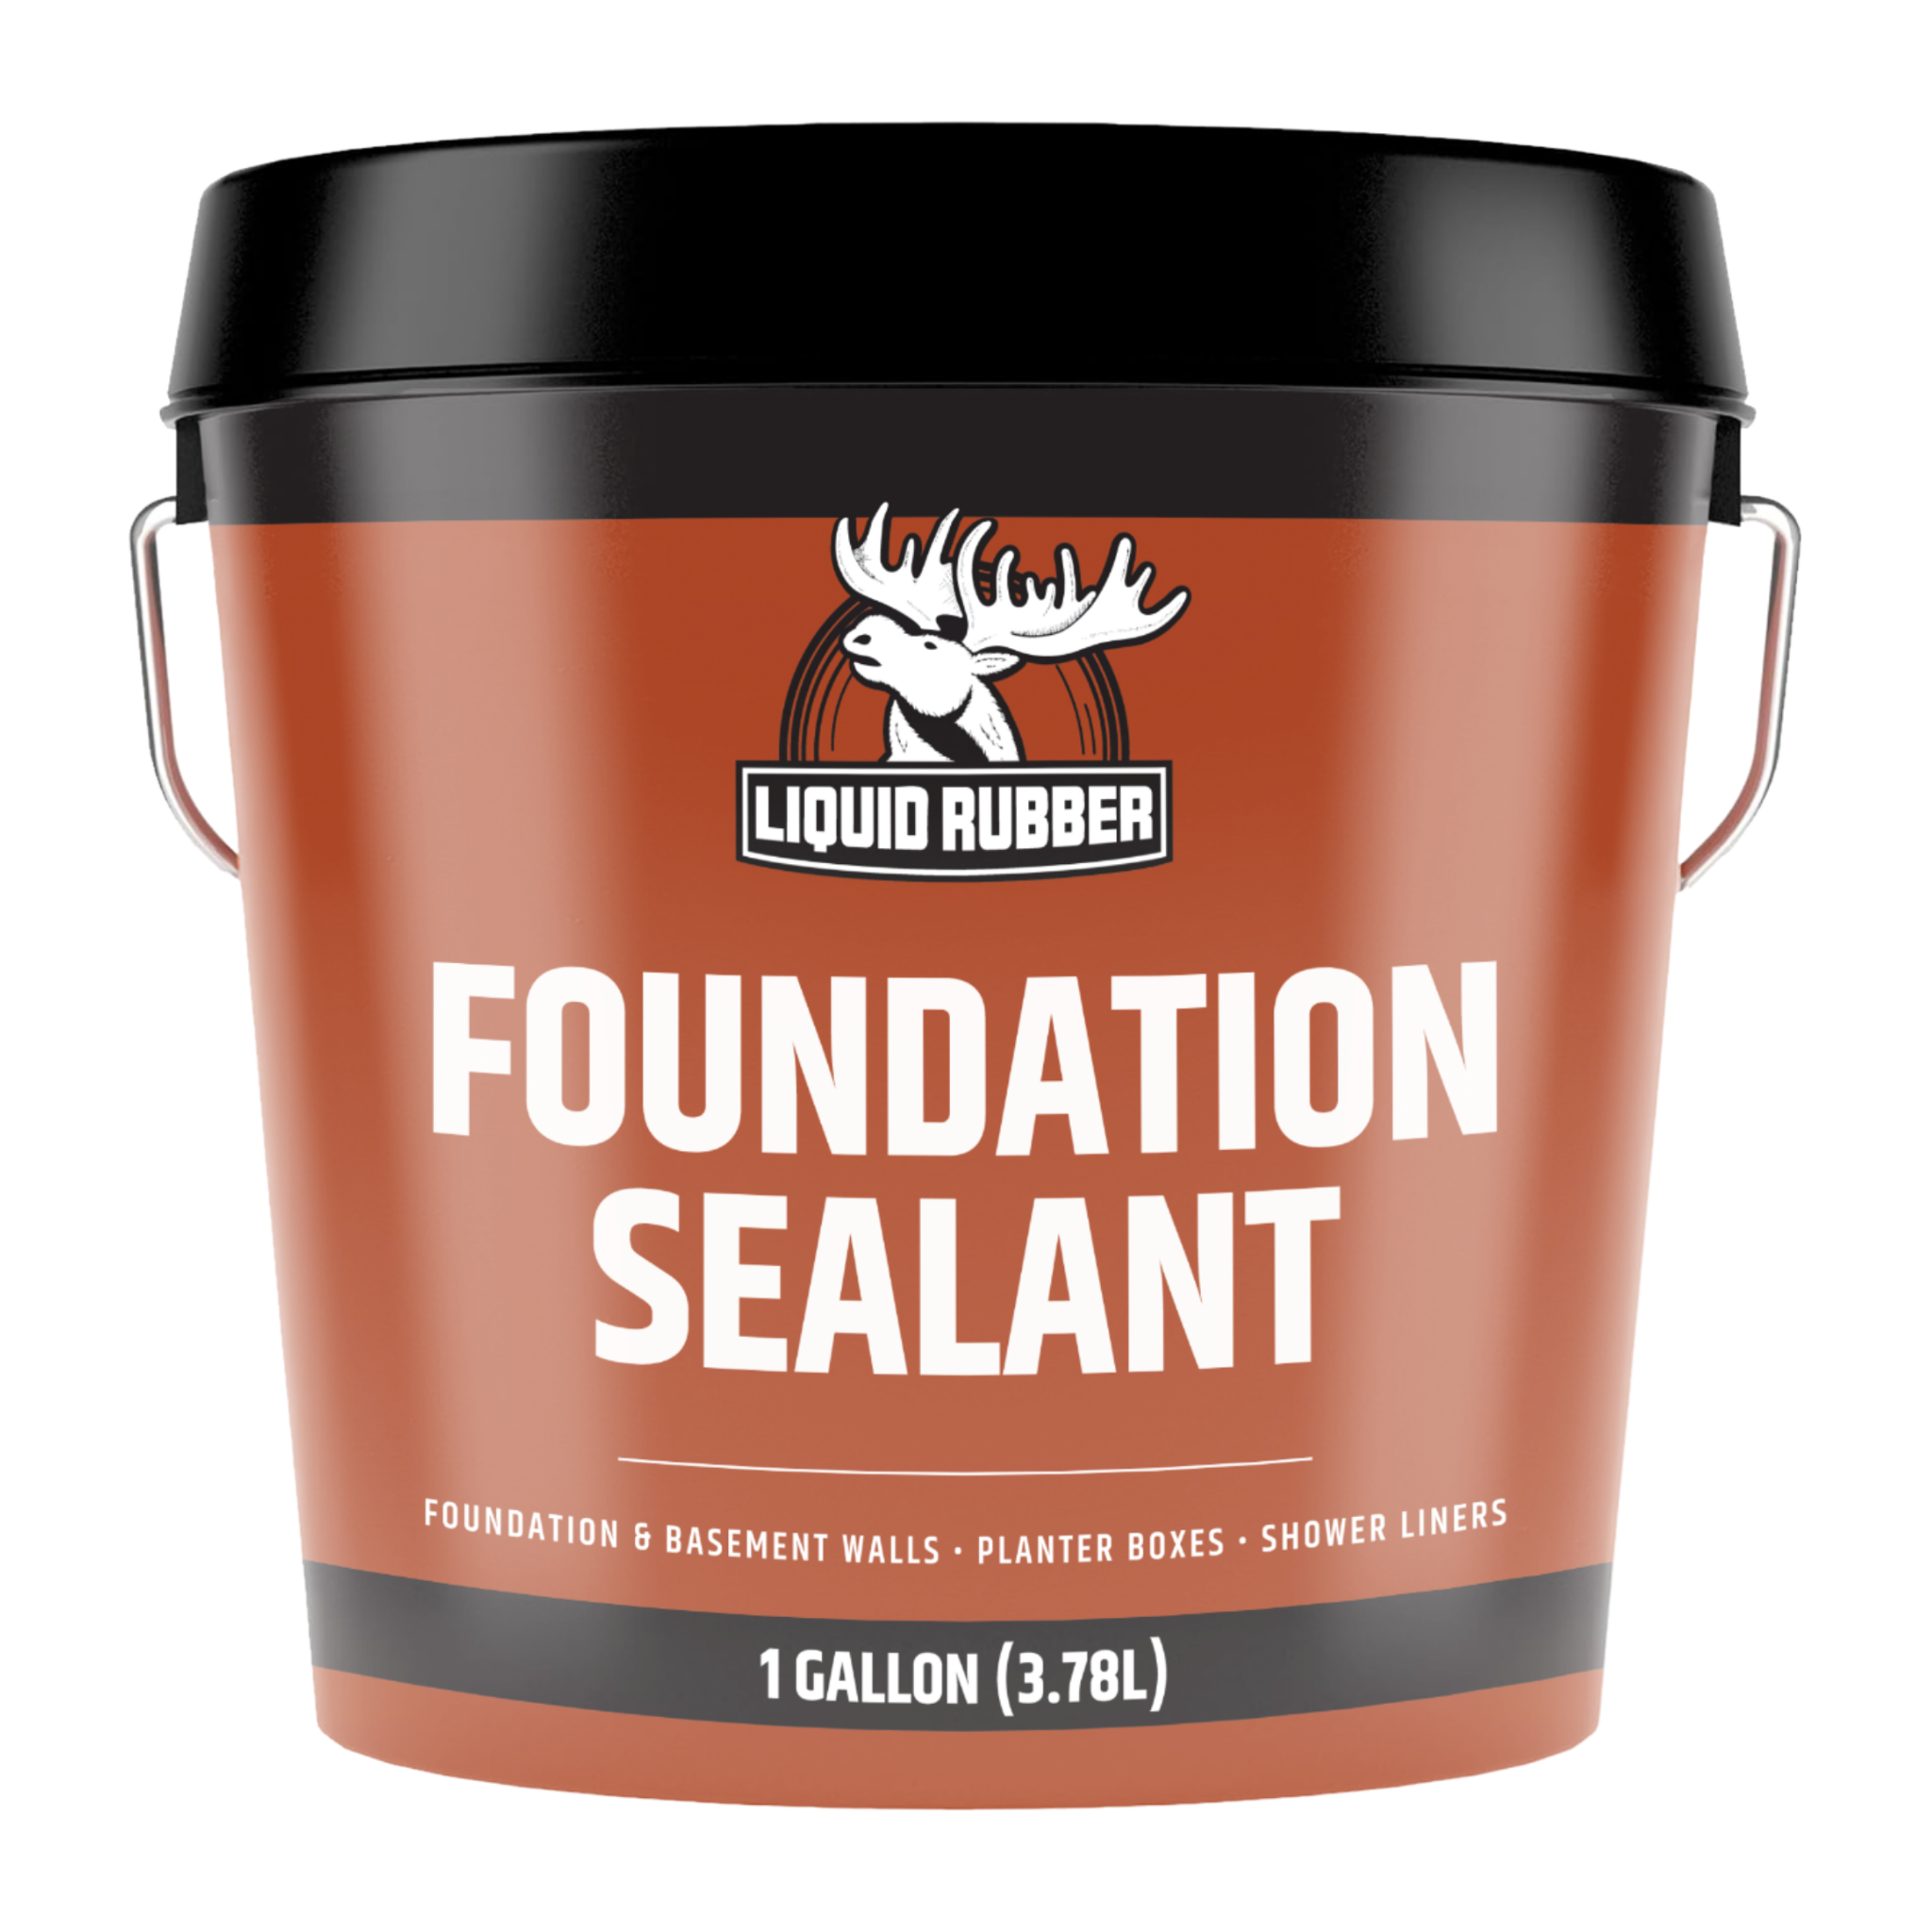
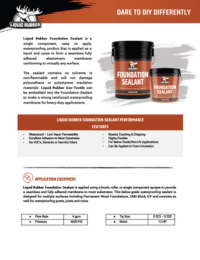
Waterproofing your basement can help keep moisture away. Usually a result of water pooling around your foundation, basement water damage can easily be avoided with the application of the Foundation Sealant/Basement Coating.

Purchase Everything You Need For This Project

Not Sure How Much To Order

Prep Your Basement

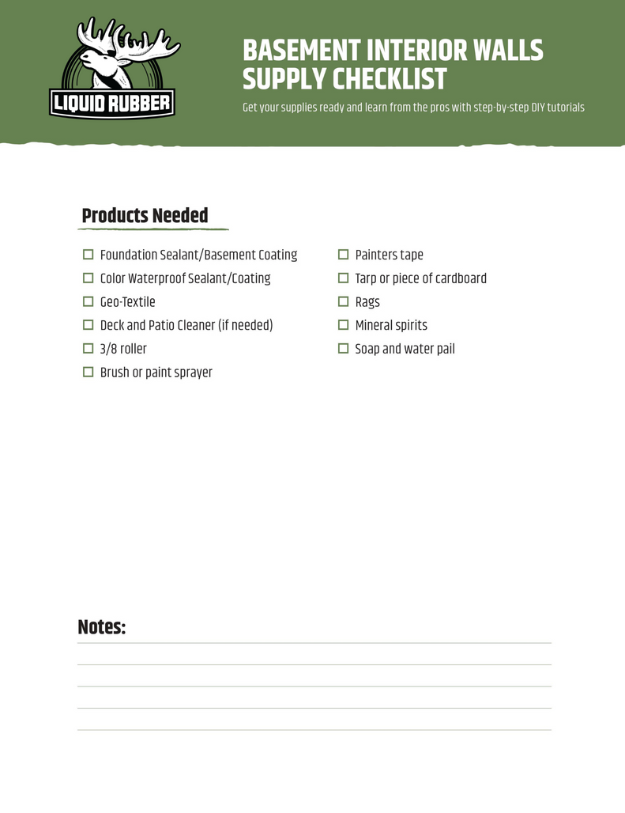
Get Your Supplies Ready

A successful project starts with preparation. Make sure you have all the supplies and products you need with our supply checklist.

Download Supply Checklist

Clean Your Space

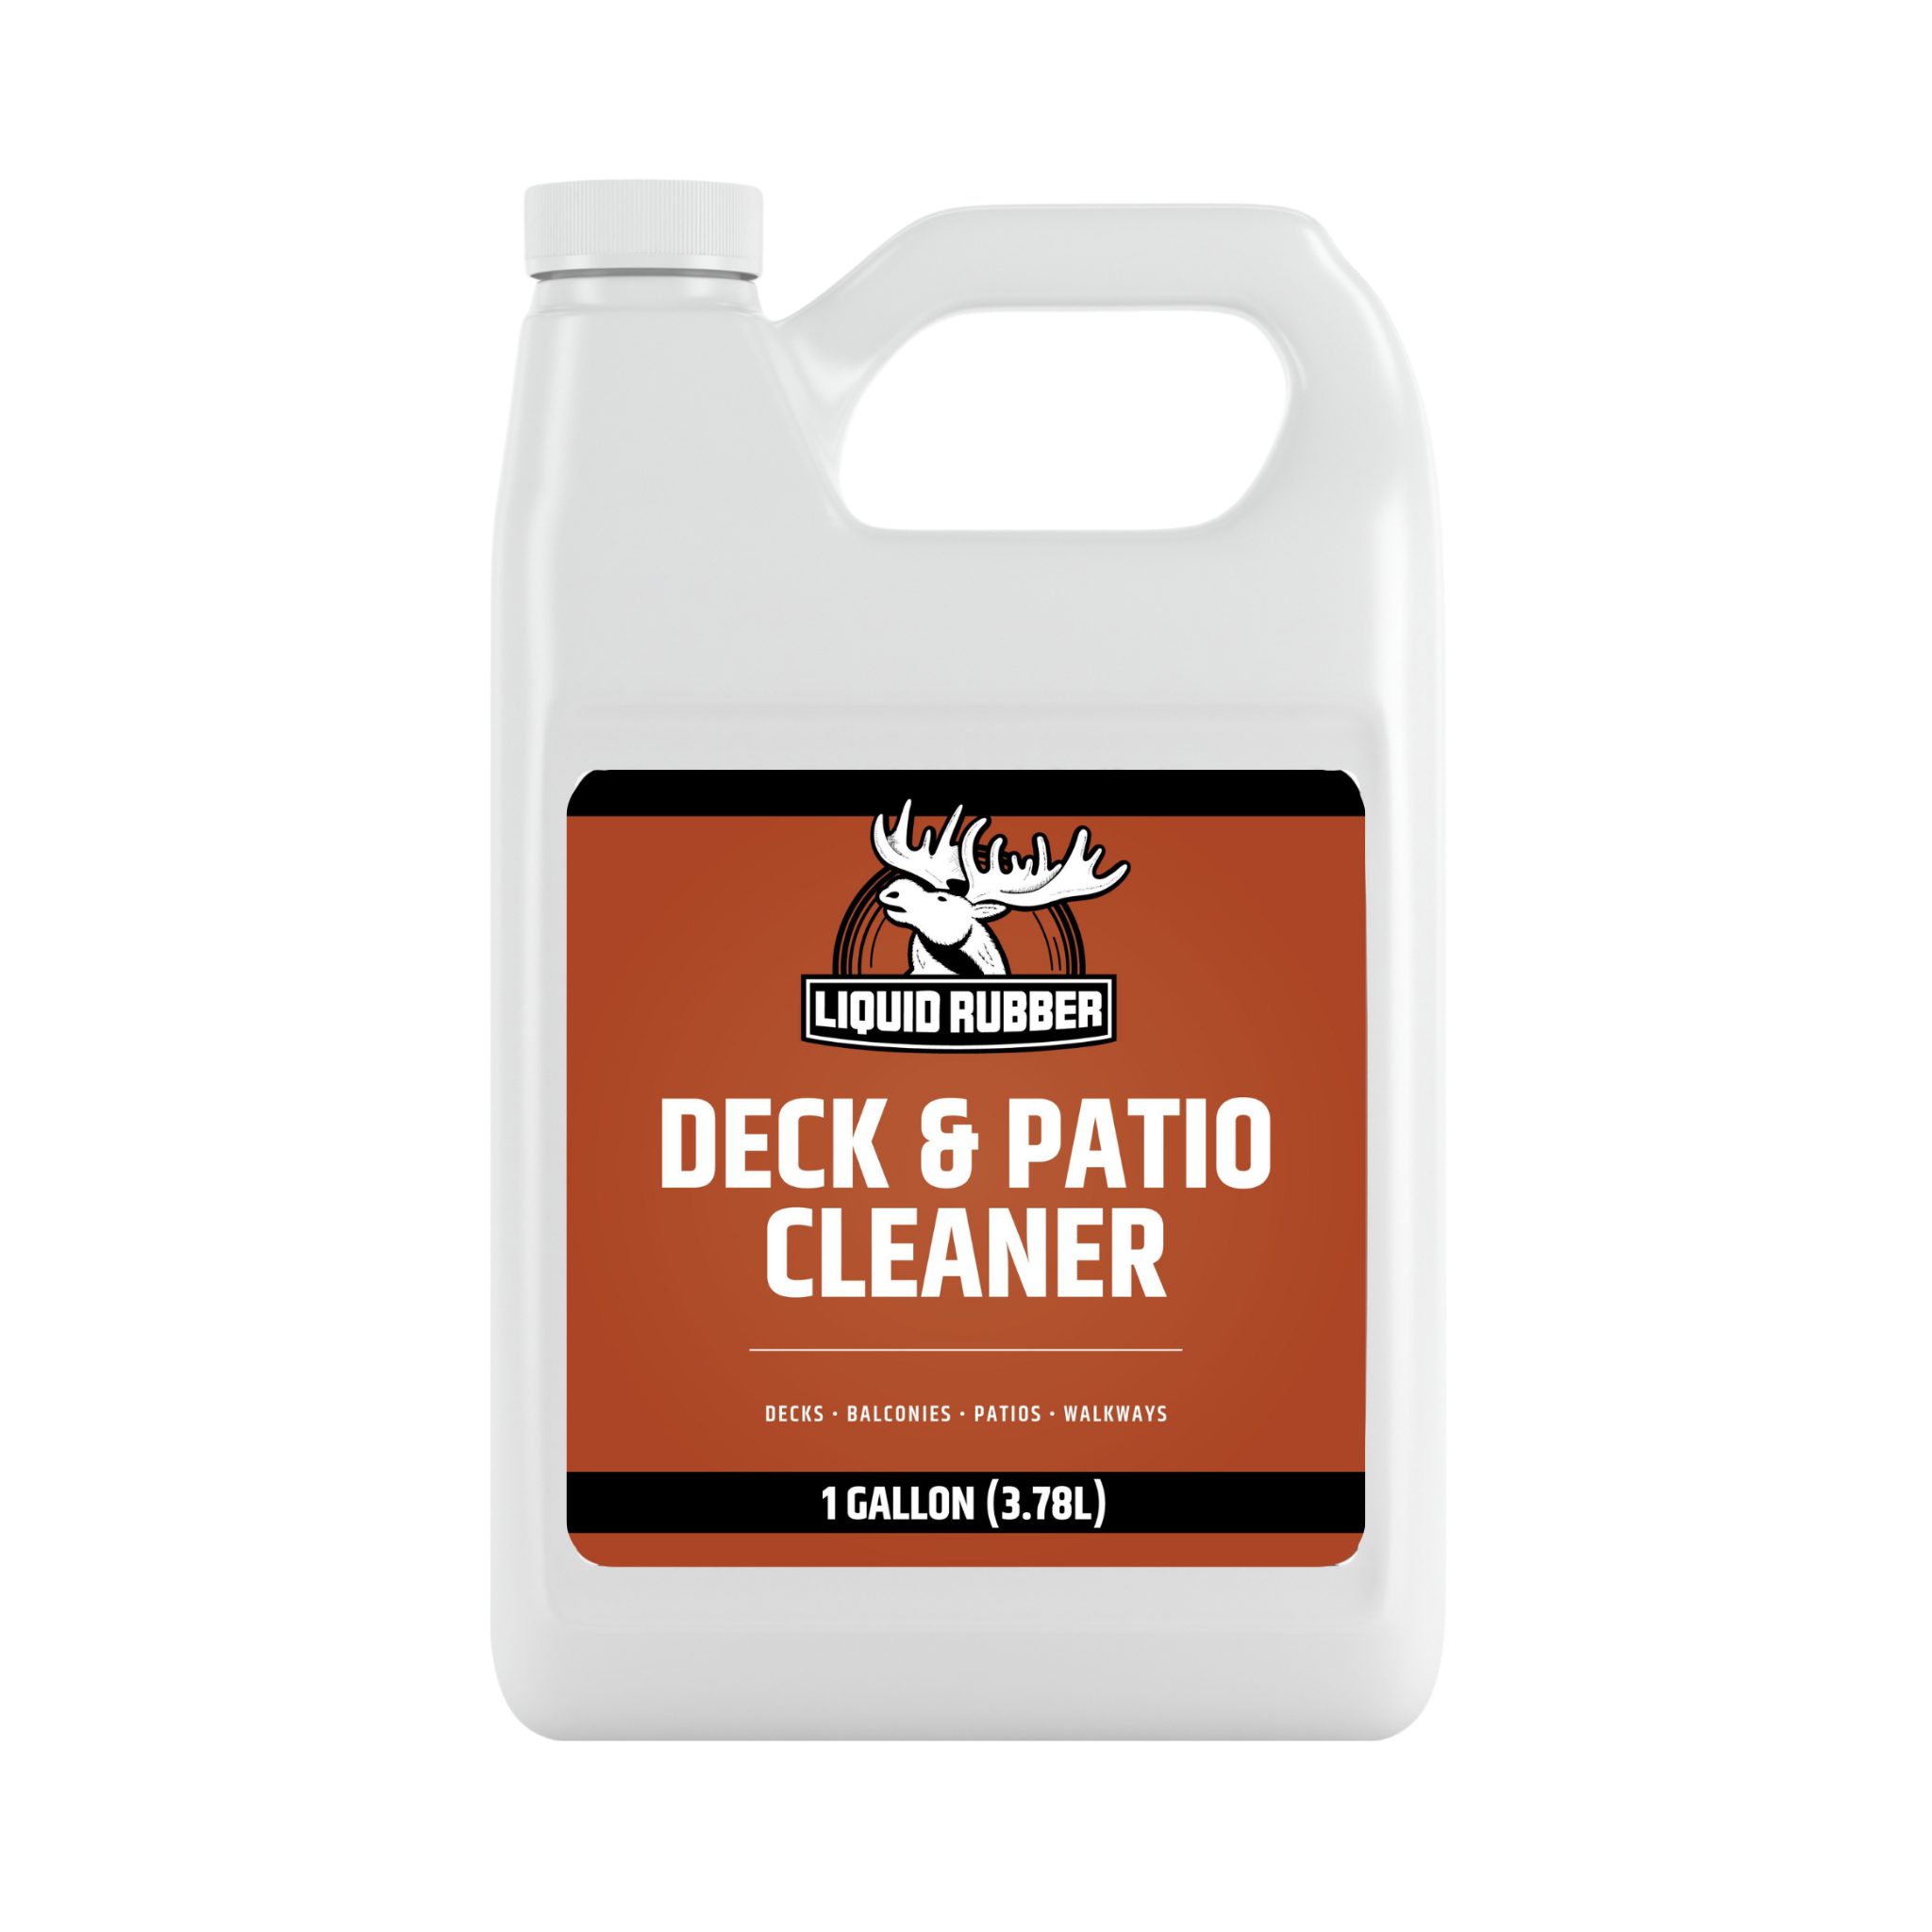
Inspect surface to ensure it is structurally sound, clean, dry and free of contaminants. Fill any cracks joints, voids that are 1/8” or larger with a patching material like wood filler, concrete patch or expansion joint caulking. Use Liquid Rubber Caulking for gaps and cracks. Concrete: For deep cracks, fill with a Crack Injection Kit – consult a professional if needed to ensure there is no structural damage. Wood: Make sure any organic matter is removed using Deck and Patio Cleaner. Secure raised nail heads, screws and/or loose boards. Remove any loose/flaking material if already coated. Do a test patch to confirm proper adhesion.
 

Contain the Mess

Set out a tarp or large piece of cardboard to keep all tools and containers on when you are not using them. Have a pail of soap and water, rags and mineral spirits ready in case there is a spill. If a spill happens, use rags to soak it up, cleaning immediately with soap and water. If it is dried, use a razor/scraper to remove. Use mineral spirits to weaken the material and remove with a wire brush or grinder.

*Note: Use mineral spirits sparingly.

Step-By-Step Project Walkthrough

Tip From The Pros:

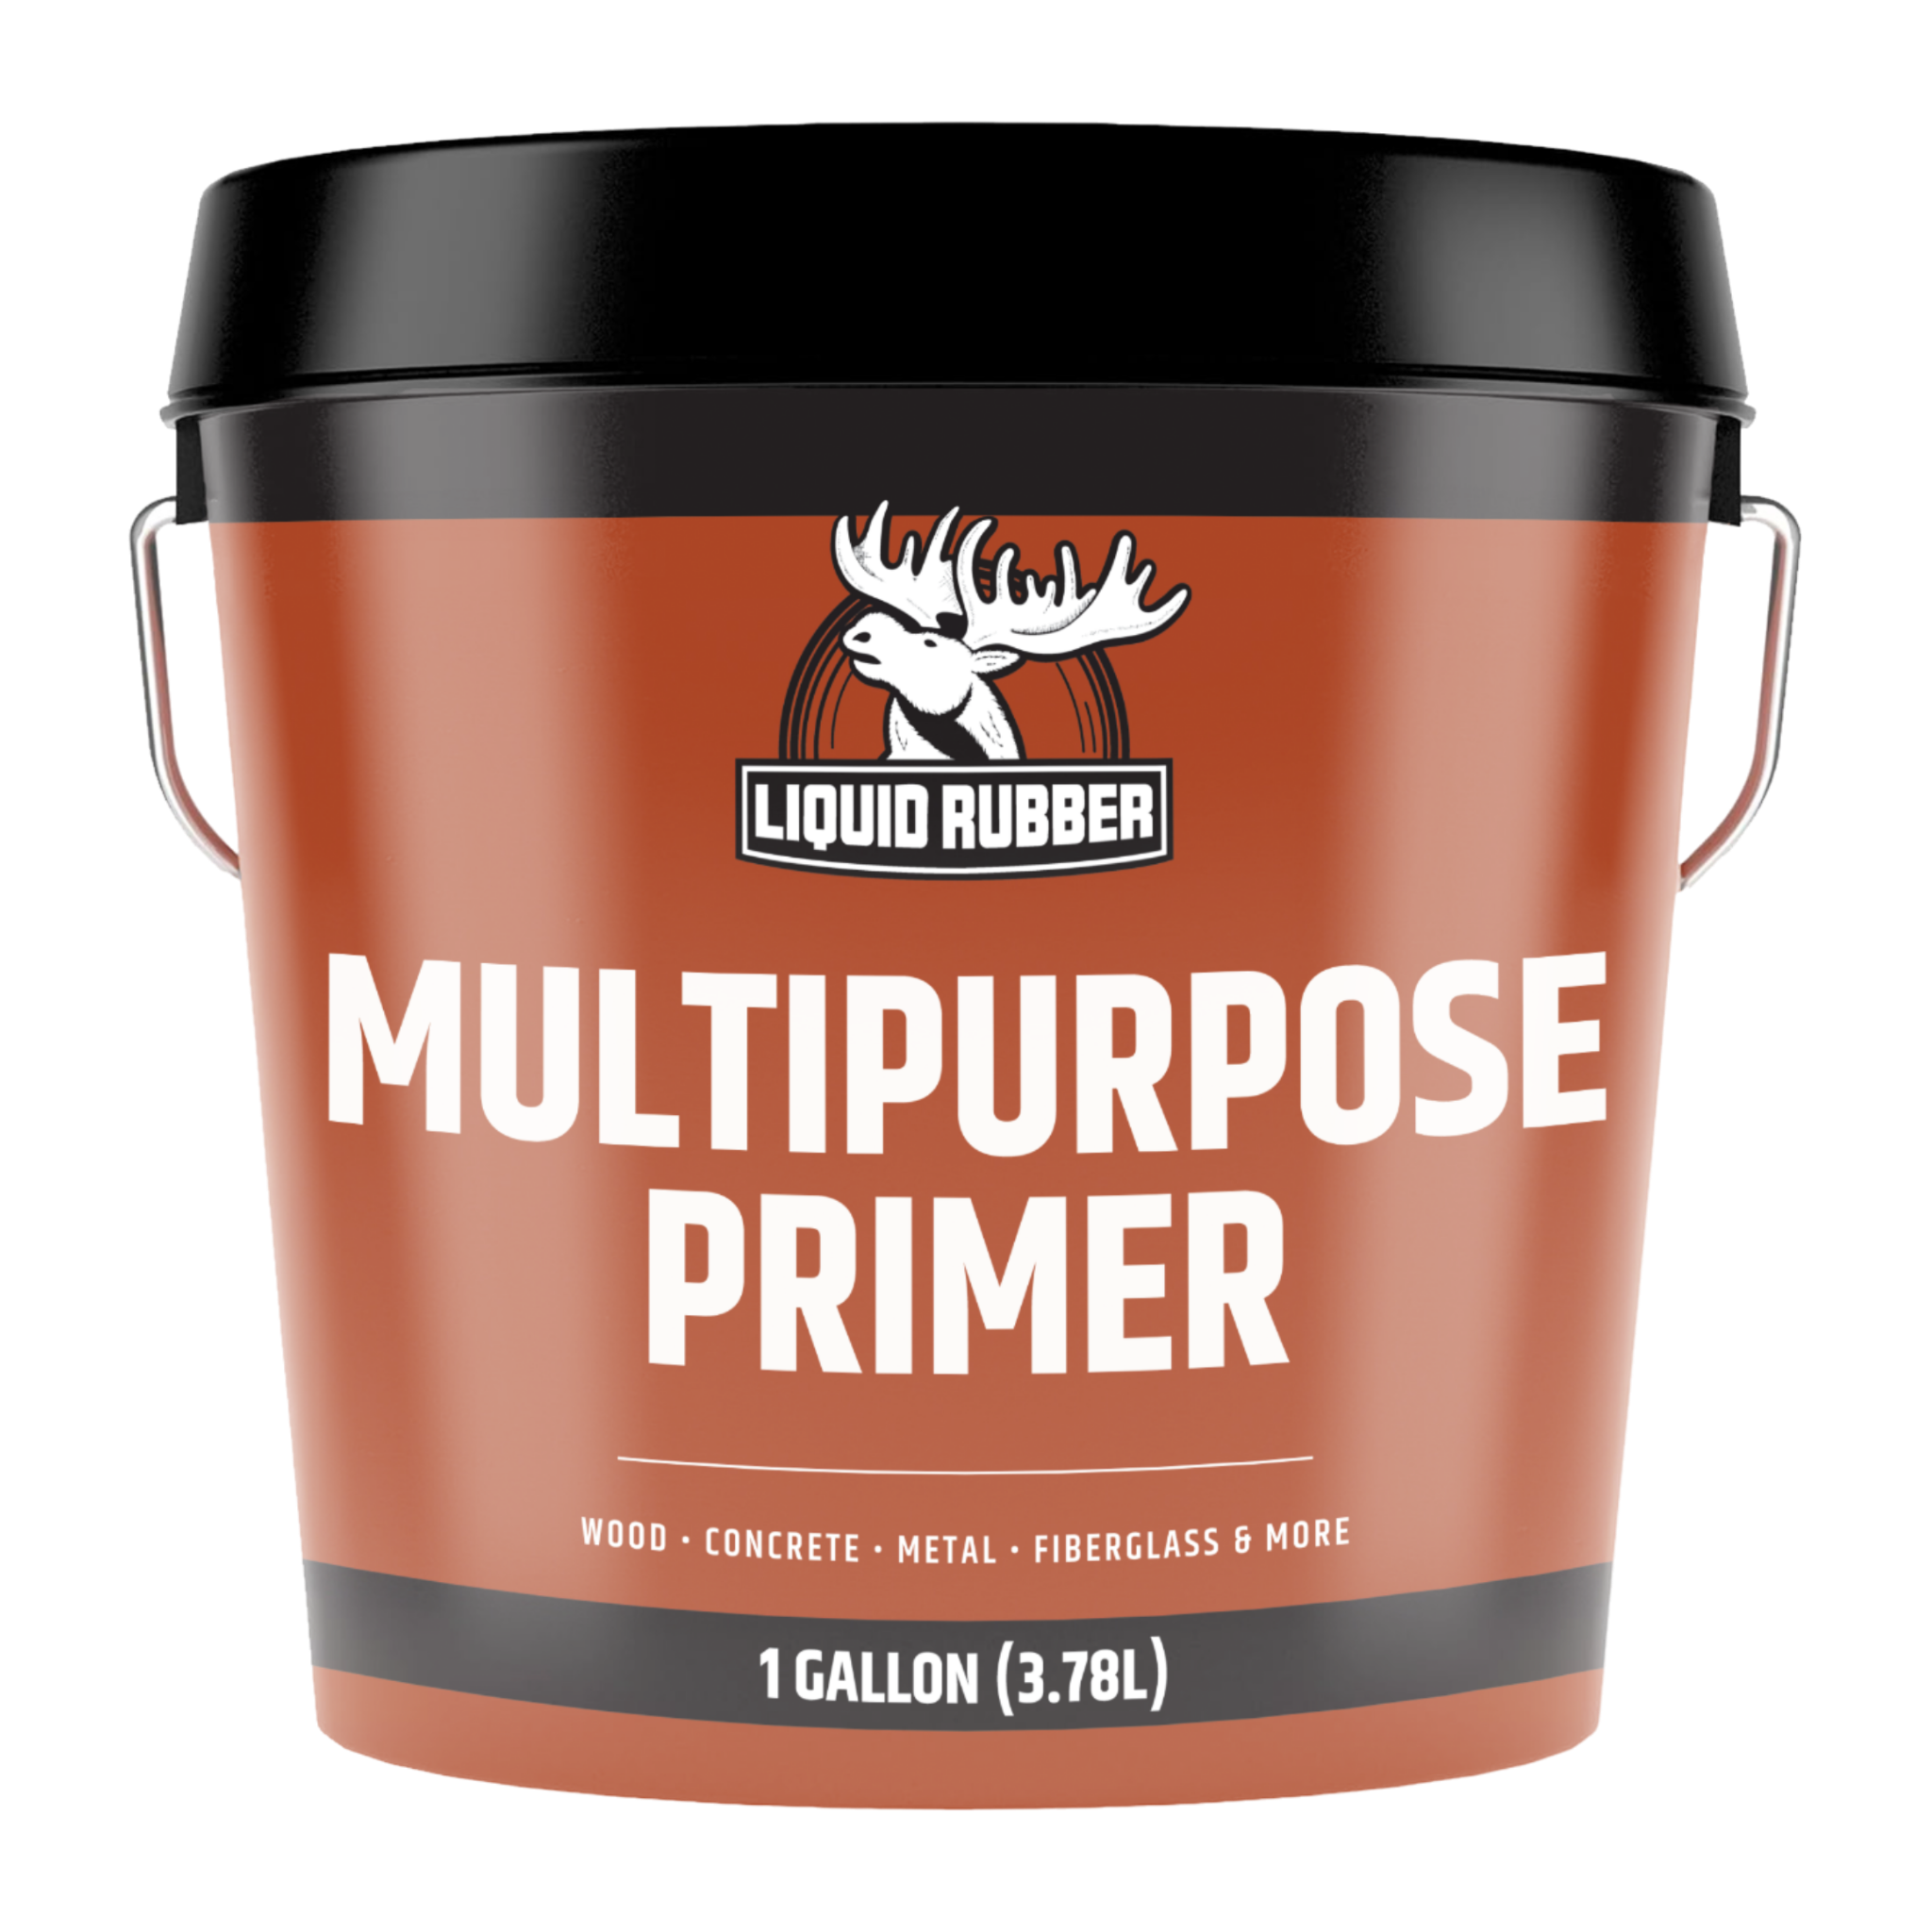
FOR EXTRA ADHESION, PERFORMANCE AND LONGEVITY AND TO CREATE A MOISTURE VAPOR BARRIER, USE 1 HEAVY COAT OF MULTIPURPOSE PRIMER. 

1 Circle around step number design detail

Prepare Your Space and Gather Your Materials

All surfaces must be structurally sound, clean, dry, and free from anything that would prevent proper adhesion. Cracks, joints, voids, etc. (1/8” or larger) should be pre-filled with a suitable patching material such as a high-quality wood filler, concrete patch material or Liquid Rubber Sealant & Adhesive (or equivalent).

Concrete should be cured for at least 28 days.

Be sure to perform a moisture test prior to application.


2 Circle around step number design detail

Blight and biological growth must be removed using Liquid Rubber Deck and Patio Cleaner. If already coated, remove any loose/flaking material. Test compatibility before applying your Liquid Rubber Solution. Liquid Rubber Multi-Purpose Primer may be required to bond to an existing coating or provide a moisture vapor barrier. A test patch is recommended to confirm adhesion prior to full application

Tip From the Pros:

FOR BEST RESULTS REMOVE EXISTING PAINTS/COATINGS AND APPLY DIRECTLY TO THE SUBSTRATE.

3 Circle around step number design detail

Masking

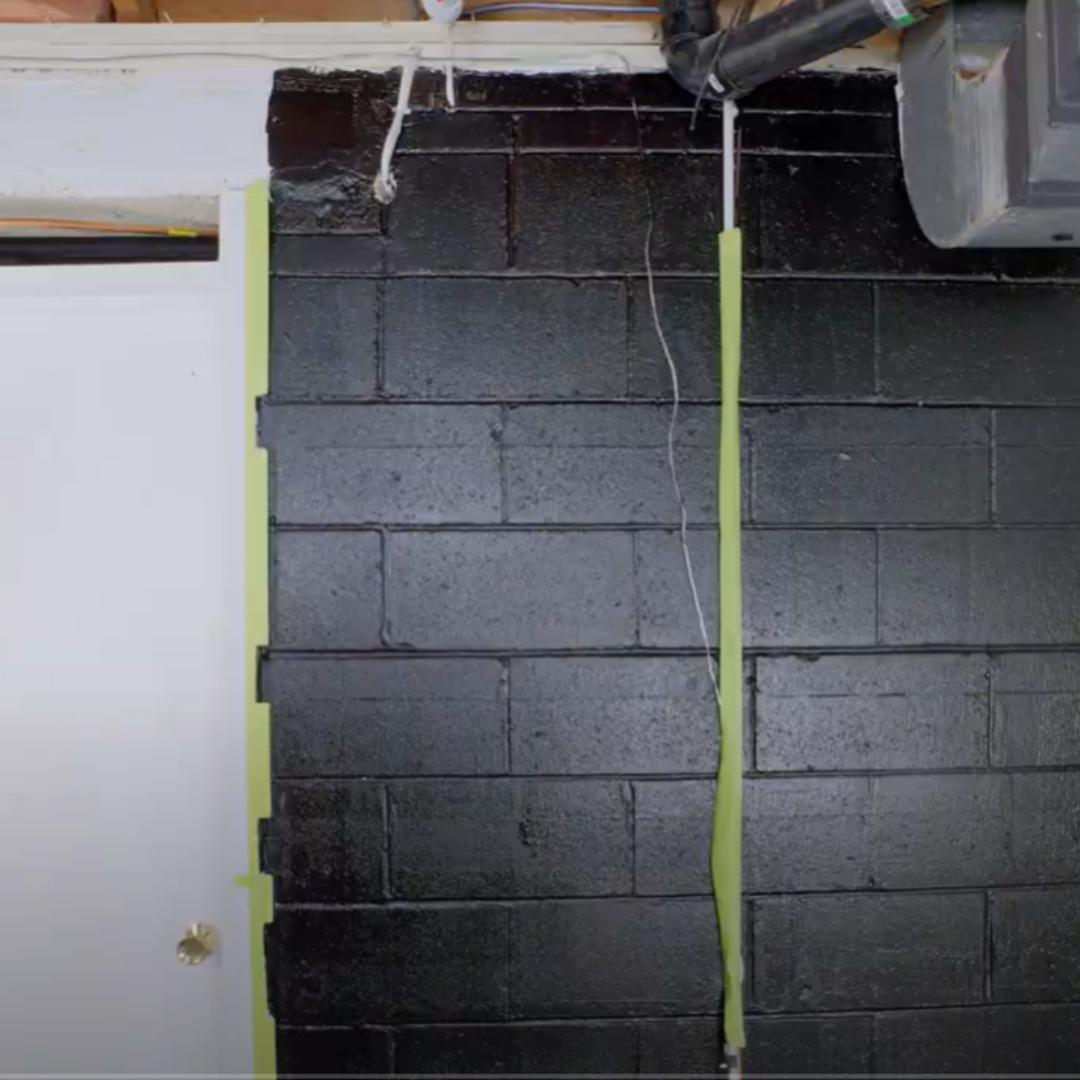
Tape-off, block-off, or otherwise mask areas that are not to receive your selected sealant. Remove tape while Sealant is still wet.

4 Circle around step number design detail

The Details

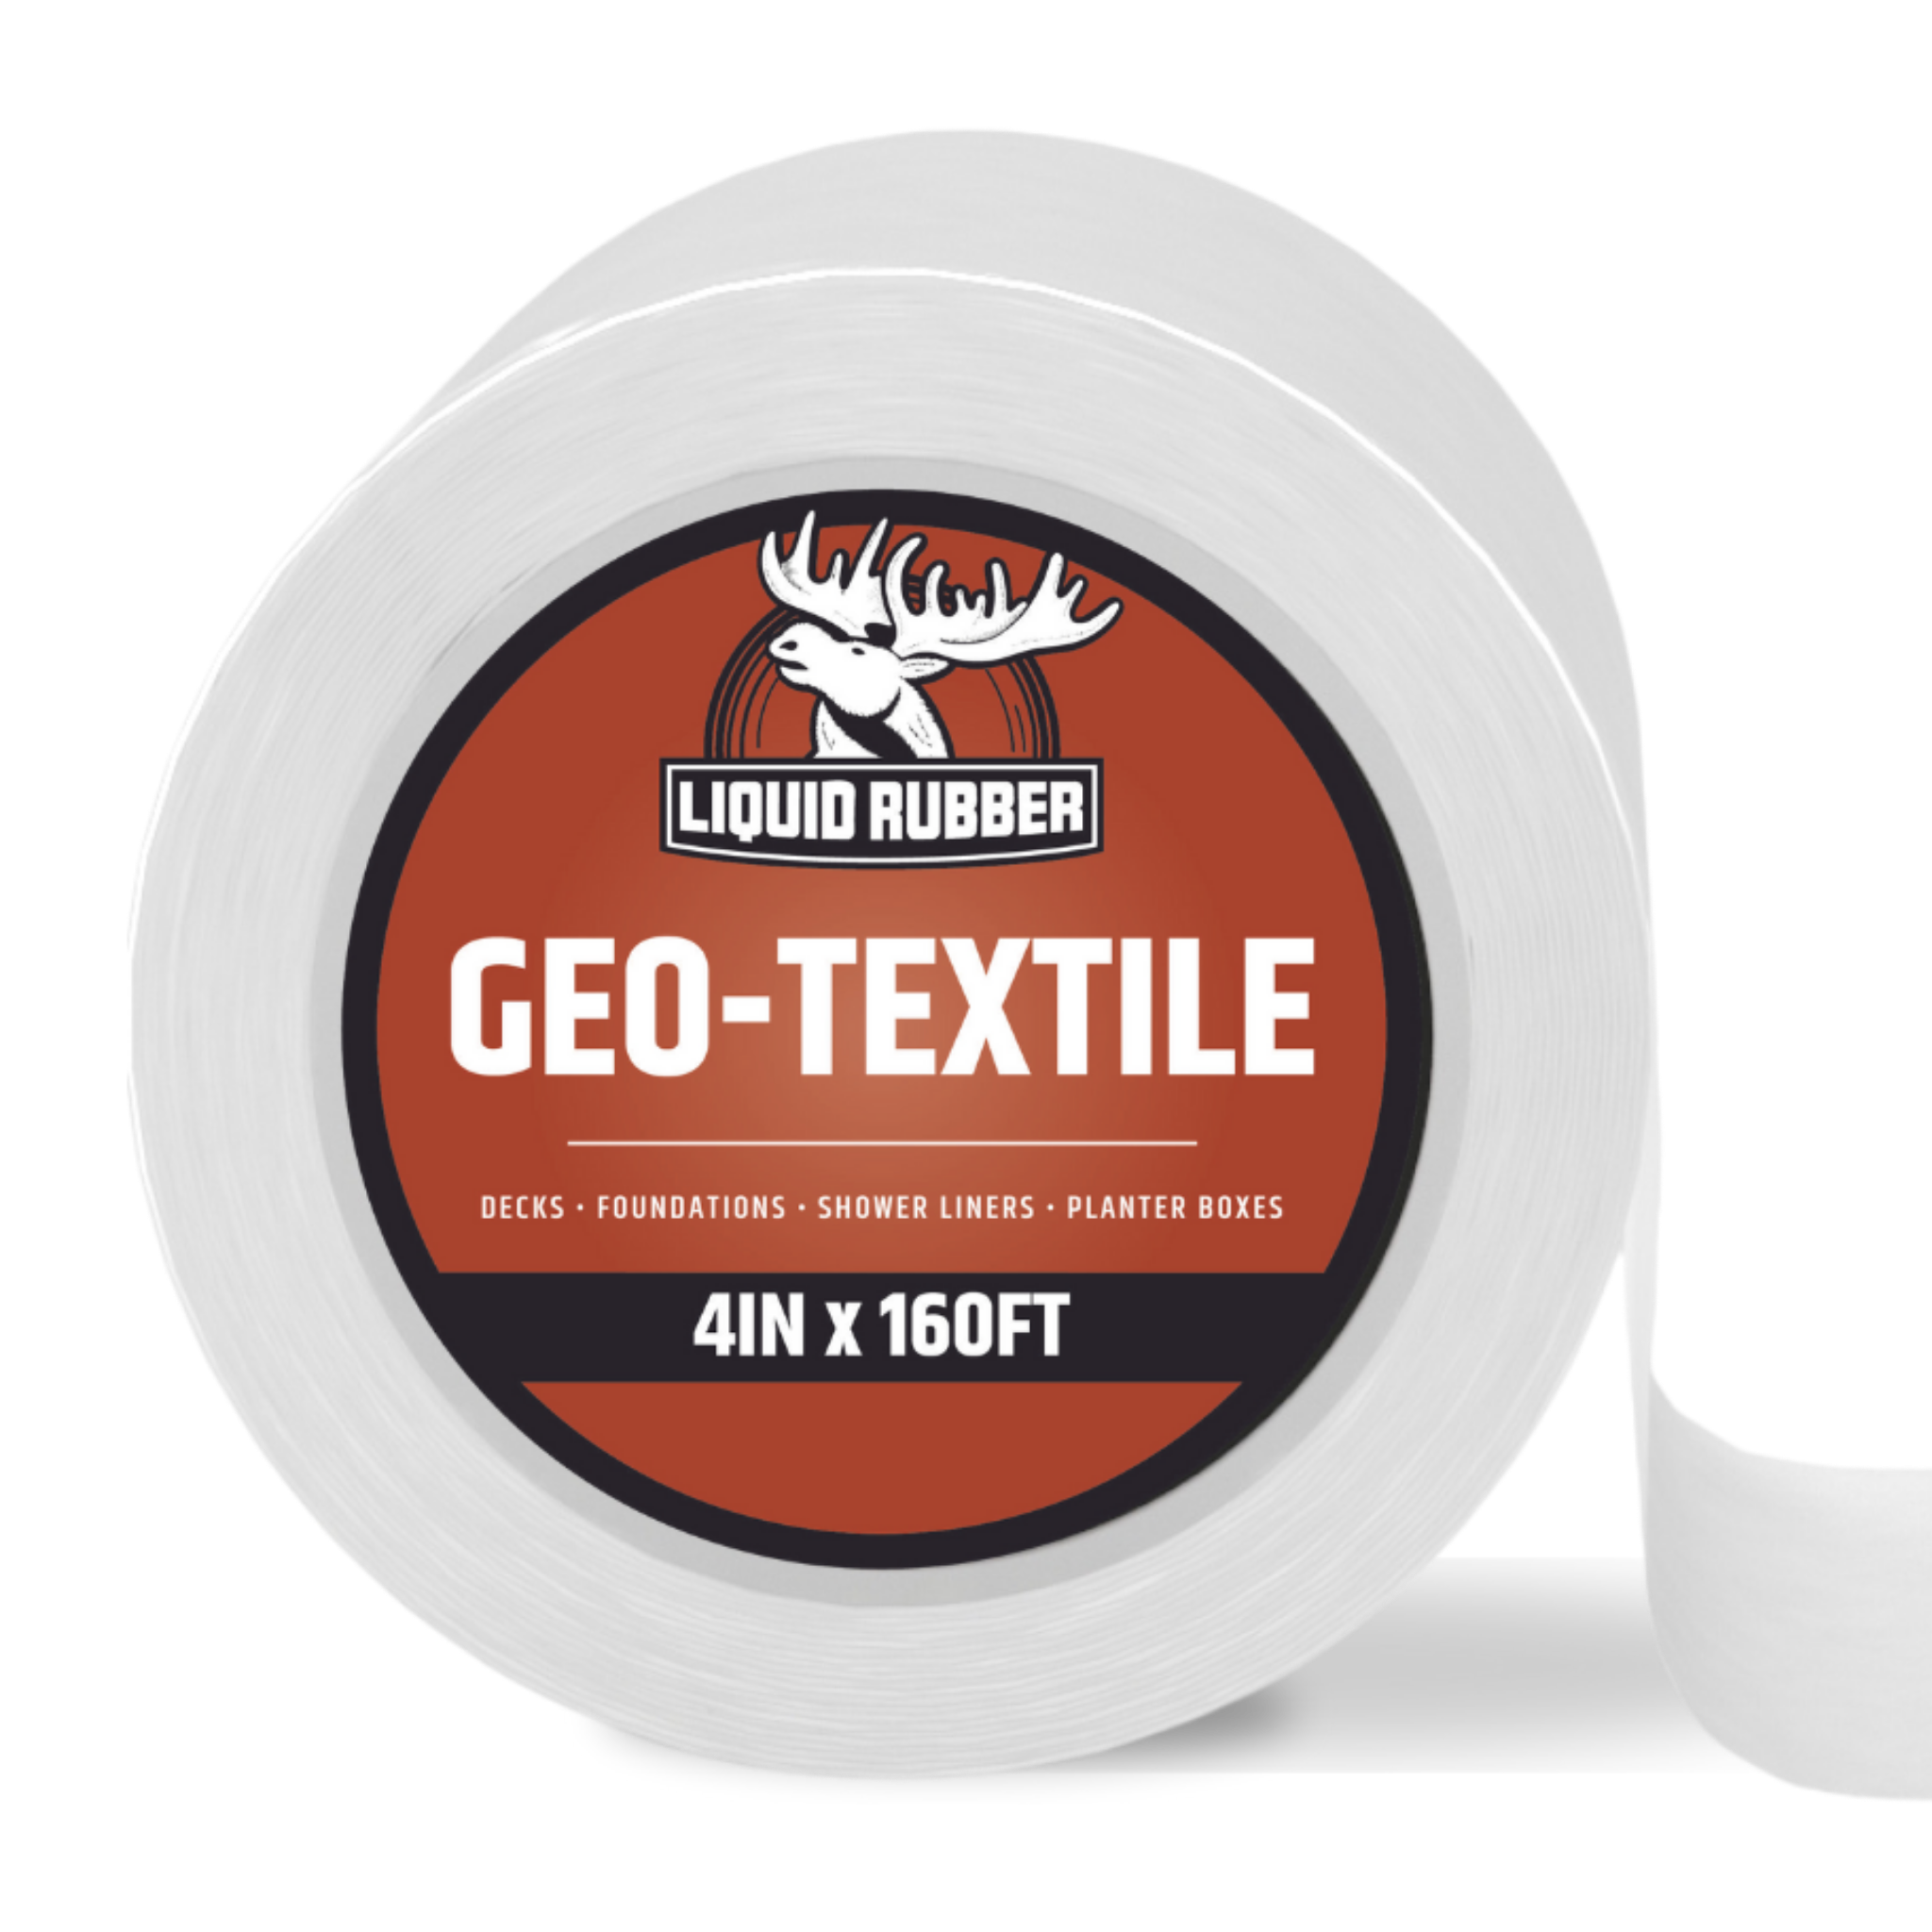
Liquid Rubber 3-Course-Method: For all cracks less than 3mm (1/8’’), cold-joints, non-monolithic inside/ outside corners, pipes, wall/slab, wall/footing, and wall/ wall junctures apply a thick 6’’ wide coat and embed 4’’ wide Liquid Rubber Geo-Textile reinforcement fabric followed by a second coat (known as the 3 Course Method). For all cracks greater than 3mm (1/8’’) prefill with Liquid Rubber Sealant & Adhesive or other appropriate patching materials prior to 3 Course Method.

Tip From the Pros:

Apply each coat in an alternate direction to the last coat to ensure even coverage.

5 Circle around step number design detail

Apply Coating

Apply your selected sealant when temperature is above 10°C/50°F including overnight. Use a brush, roller, or heavy-duty hydraulic piston spray rig (very thick/viscous material) at a final coverage of 50 ft² per G (4.6 sq/m) or 250 ft² per 5G pail to achieve a damp-proof coating. Generally you can apply 2 generous coats per day. Apply the next coat when dry to touch, is uniform in color and nothing is wet underneath. Tacky is OK. Apply all recommended material. Membrane should be a minimum of 12” above finished grade and down the base of the slab/footing.

6 Circle around step number design detail

Inspect and Protect

Inspect for pinholes, blisters, voids, thin spots or other defects. Repair as necessary.

Allow 48 hours to cure before painting or covering.

NEED SOME HELP?

OUR TEAM OF EXPERTS ARE STANDING BY TO HELP MAKE SURE YOUR PROJECT IS A SUCCESS. CALL OR EMAIL US AT

1-855-592-1049 support@shopliquidrubber.com
7 Circle around step number design detail

Clean Up

Remove tape while coating is still wet and close container to secure leftover product. If spillage occurs, soak up as much material as possible with rags. Clean immediately with soap and water. If spill is dried, scrape off as much as possible with a razor or scraper. Use mineral spirits to weaken product and an appropriate tool such as a wire brush or grinder to mechanically remove. If splashed on the skin immediately wash thoroughly with fresh water. If the product has dried on the skin massage the area with medical grade mineral oil, baby oil or edible oil, then wash with soap and water. If irritation persists seek medical attention.

NEED SOME HELP?

OUR TEAM OF EXPERTS ARE STANDING BY TO HELP MAKE SURE YOUR PROJECT IS A SUCCESS. CALL OR EMAIL US AT

1-855-592-1049 support@shopliquidrubber.com
8 Circle around step number design detail

Coverage

Interior Basement Wall: Apply a minimum final thickness of 1 gallon per 50 sq ft (4.6 sq/m). It should require around 2-3 heavy coats. (not meant for long-term UV exposure.) Re-coat time: 6-8 hours. Cure: 24-48 hours.

Tips & Tricks

Finished interior basement with carpet and grey walls

Expert Tips to Waterproofing Your Basement

Learn all you need to know about waterproofing your basement with Liquid Rubber Coatings.

Read Blog
bright finished interior basement with wood and carpet floors

Prevent Basement Flooding

Avoid making these five mistakes with basement waterproofing.

Read Blog