Purchase Everything You Need For This Project

Planter Box Waterproofing

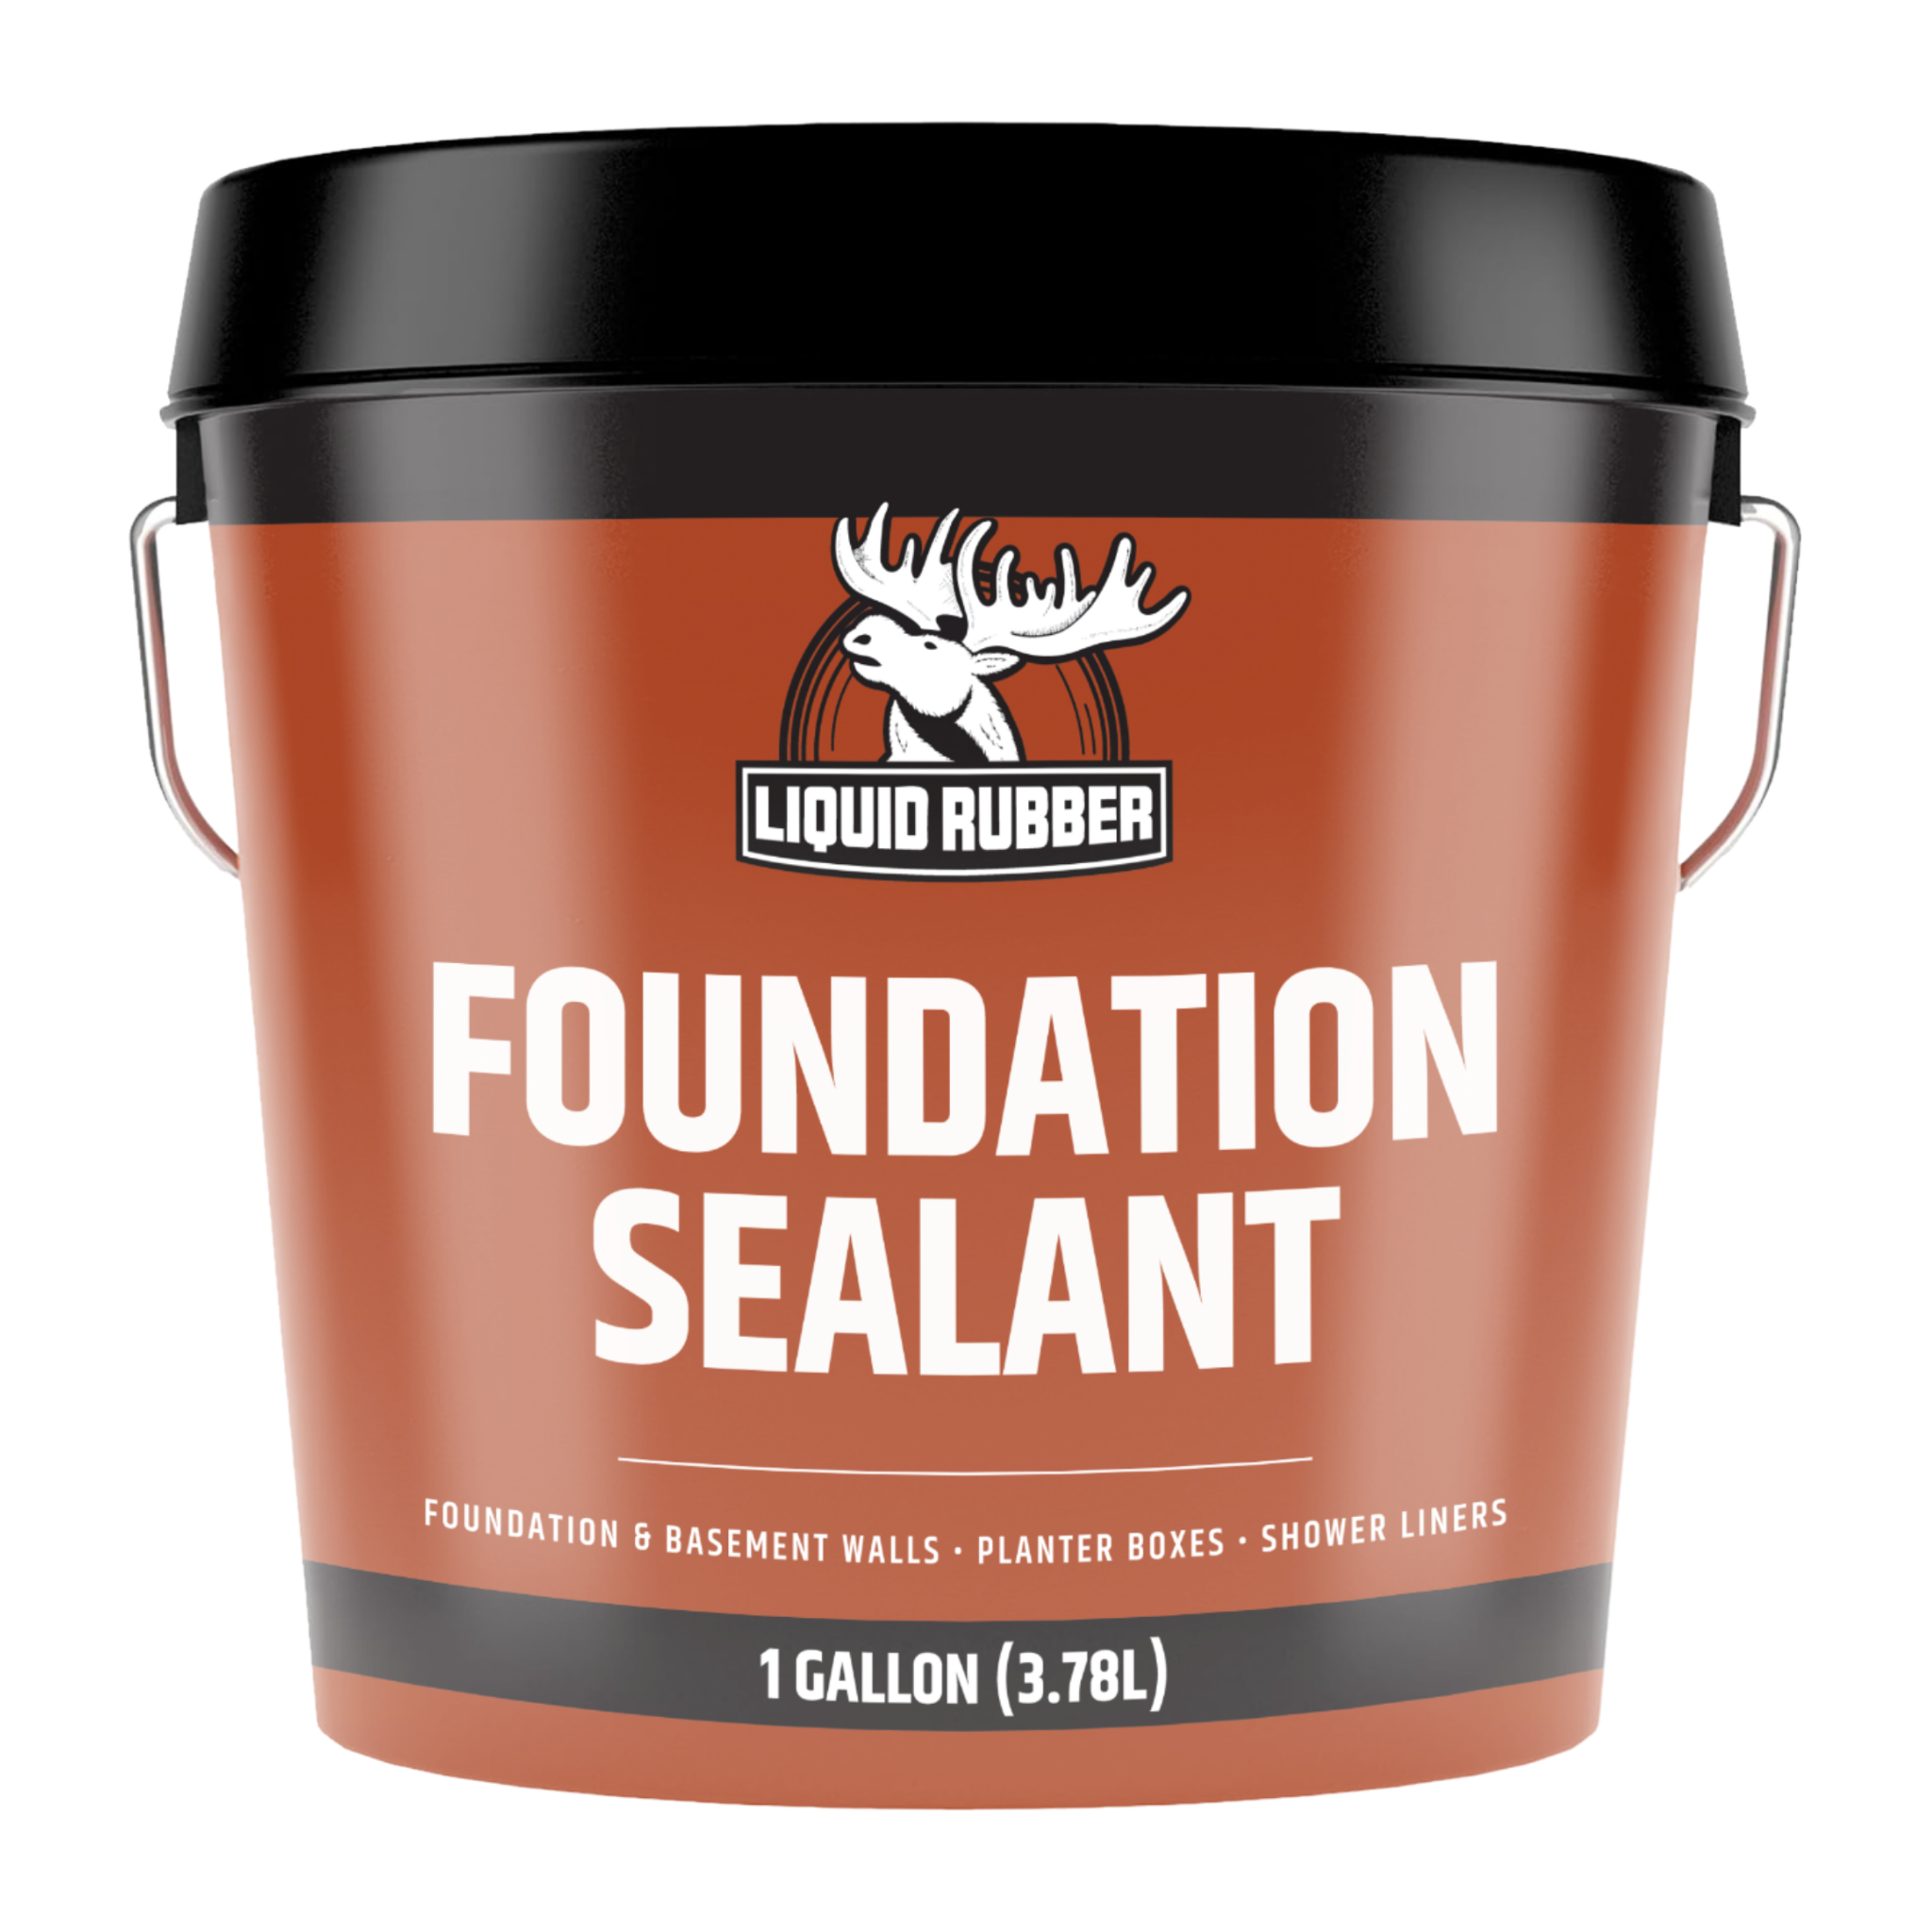
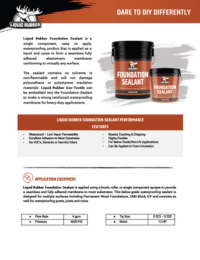
Waterproofing your planter boxes is an important step in making sure your boxes are intact for many growing seasons to come. Foundation sealant creates a waterproof membrane resistant to moisture and elements, in addiion to fertilizers and other chemicals found in soil. Sealant is safe for inedible plants.
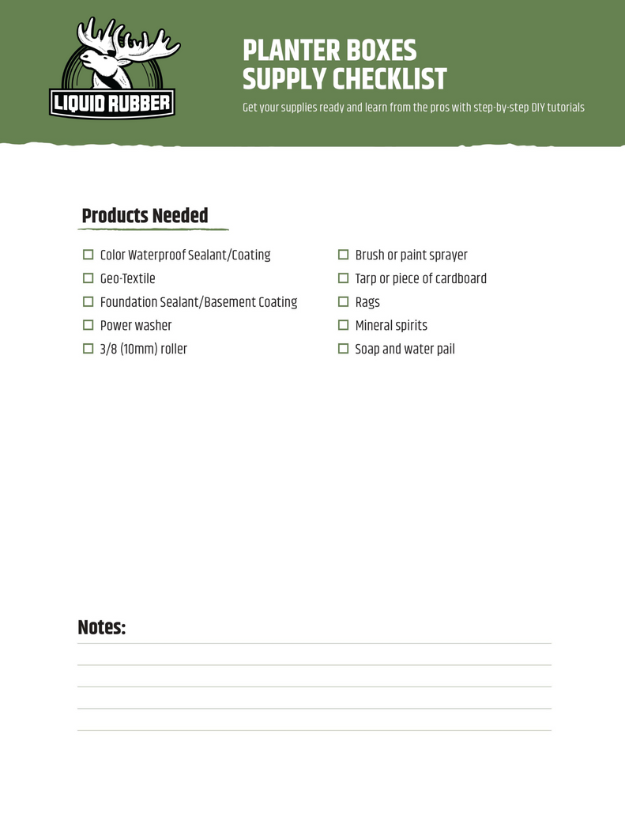
Products You'll Need
*Foundation Sealant and Color Waterproof Sealant are not to be combined. Use one or the other.
Not Sure How Much To Order
Prep Your Planter Boxes
Step-By-Step Project Walkthrough

Avoid contact with solvents and solvent based cleaners, adhesives, and paints.
Prepare Your Space and Gather Your Materials
Make sure surfaces are properly scuffed, cleaned, and dried. Gather all materials needed for your project.
Detail Work
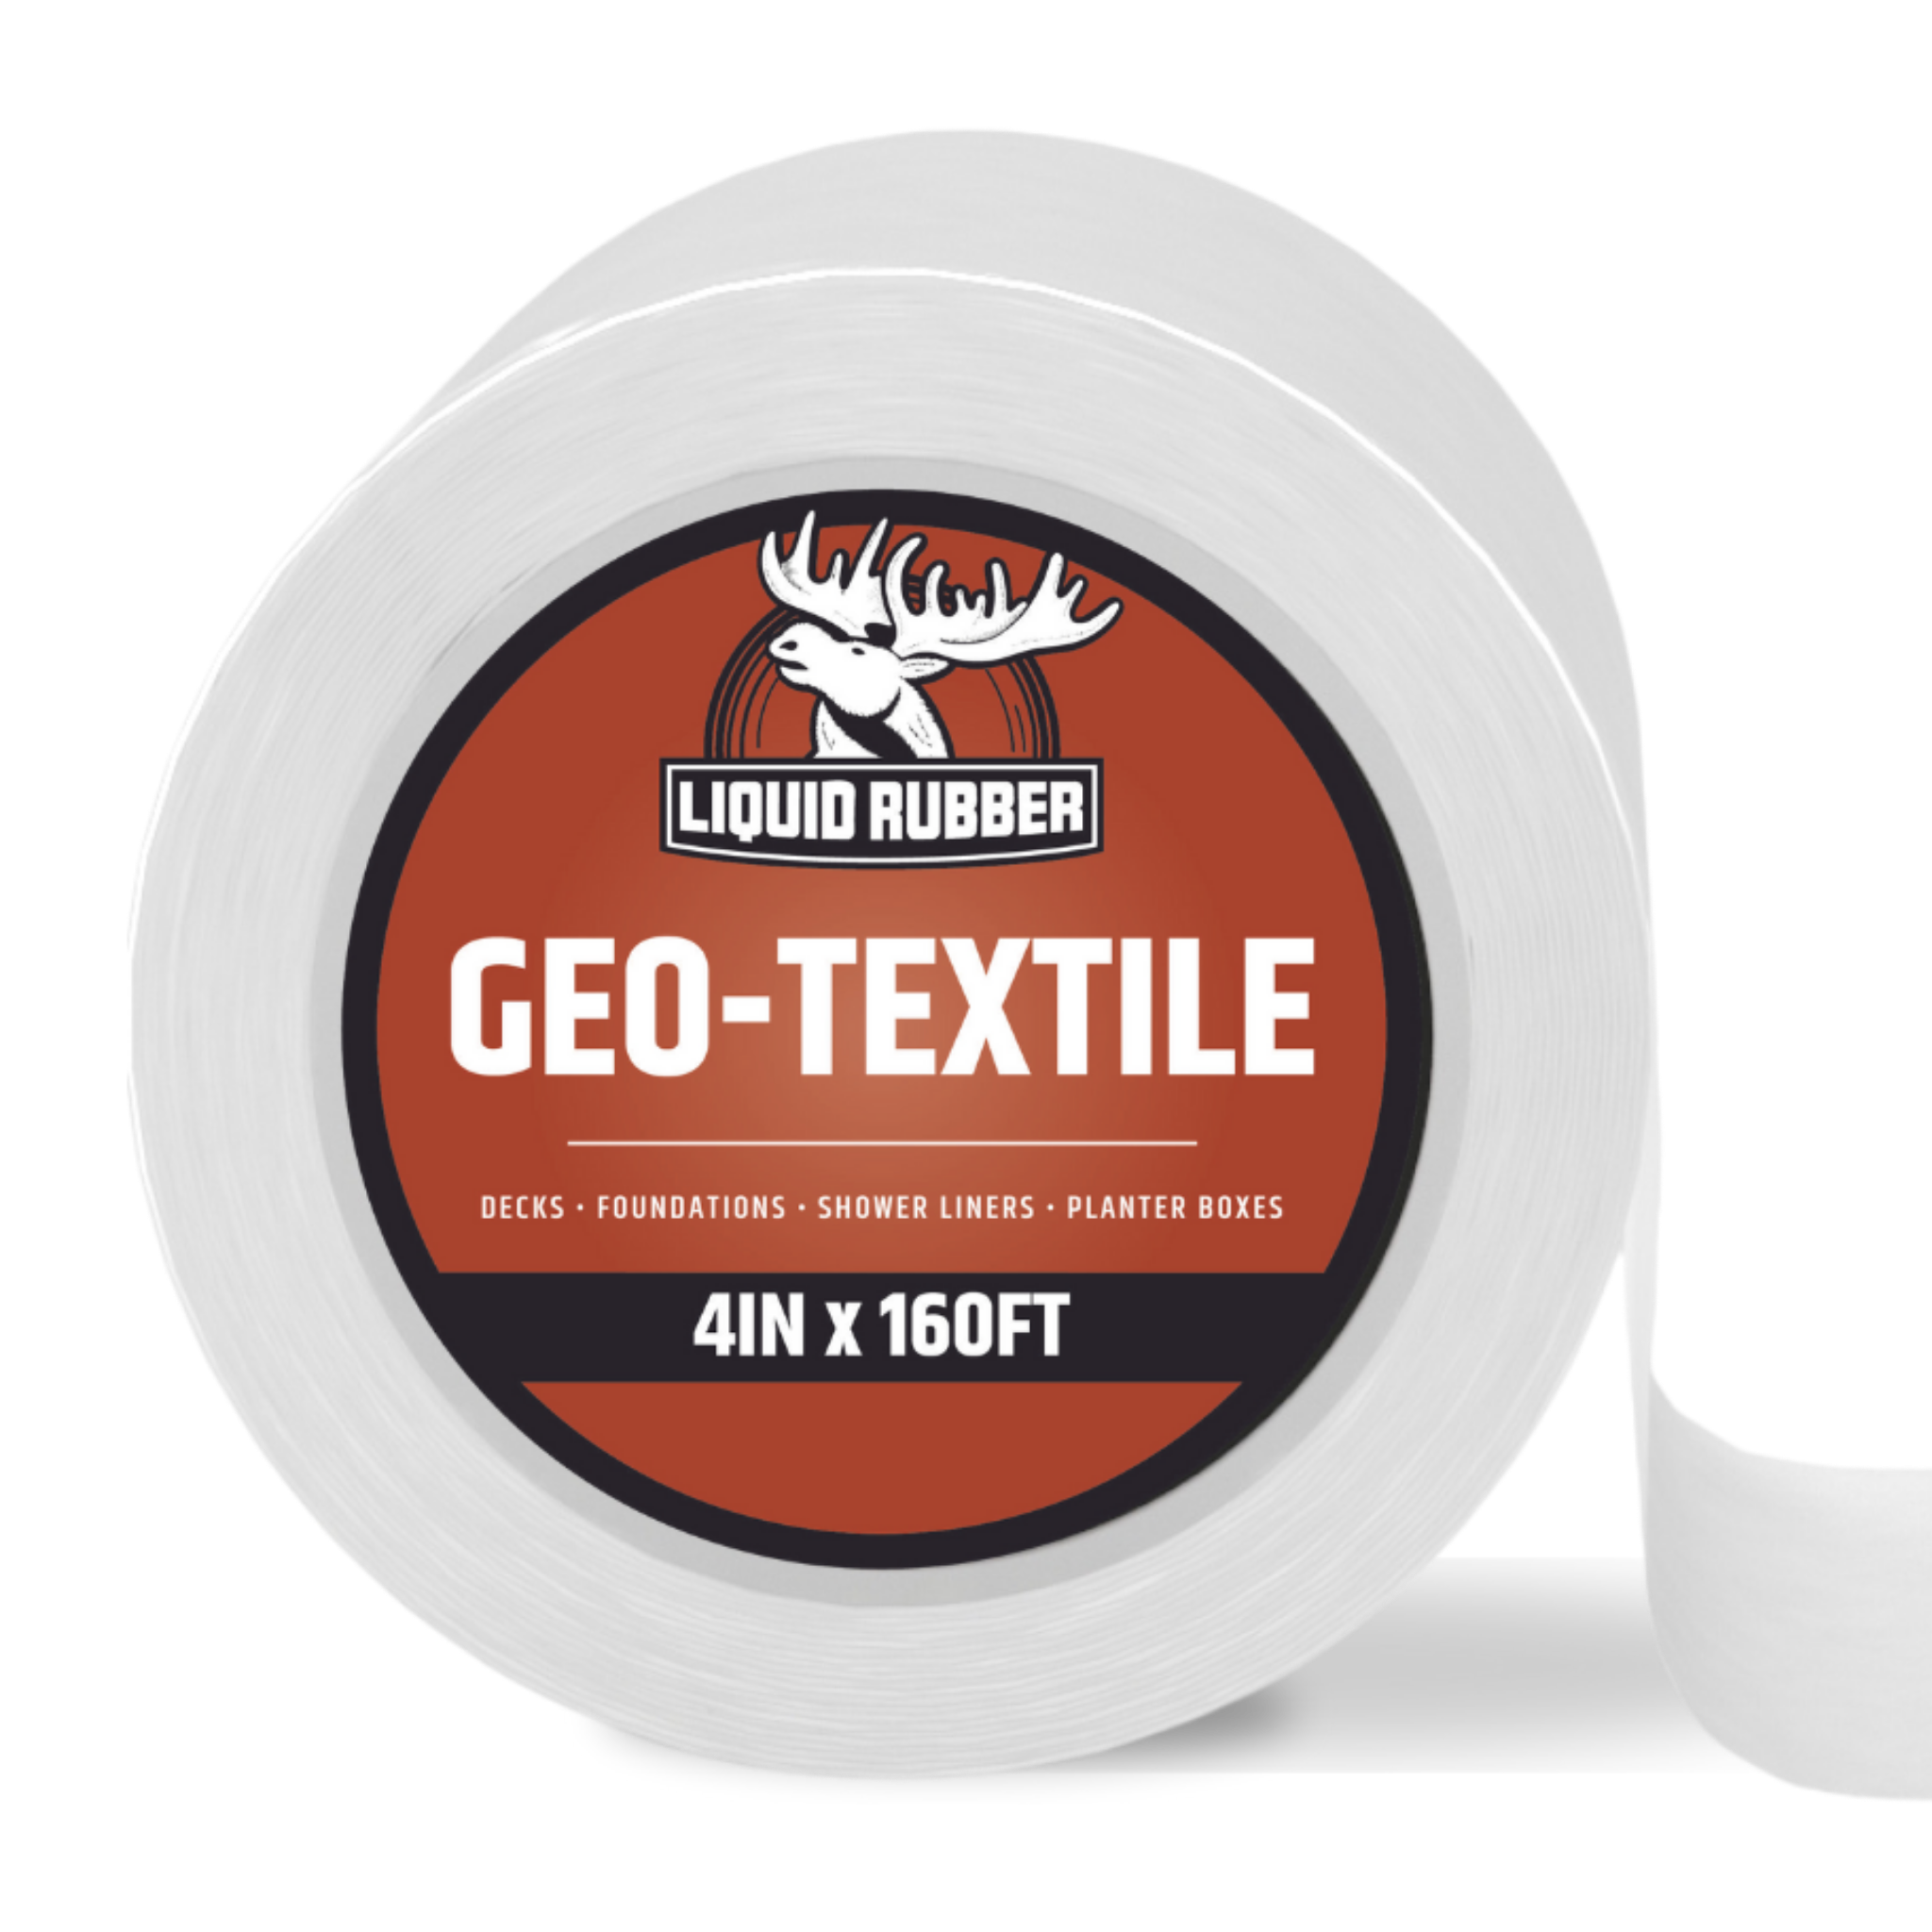
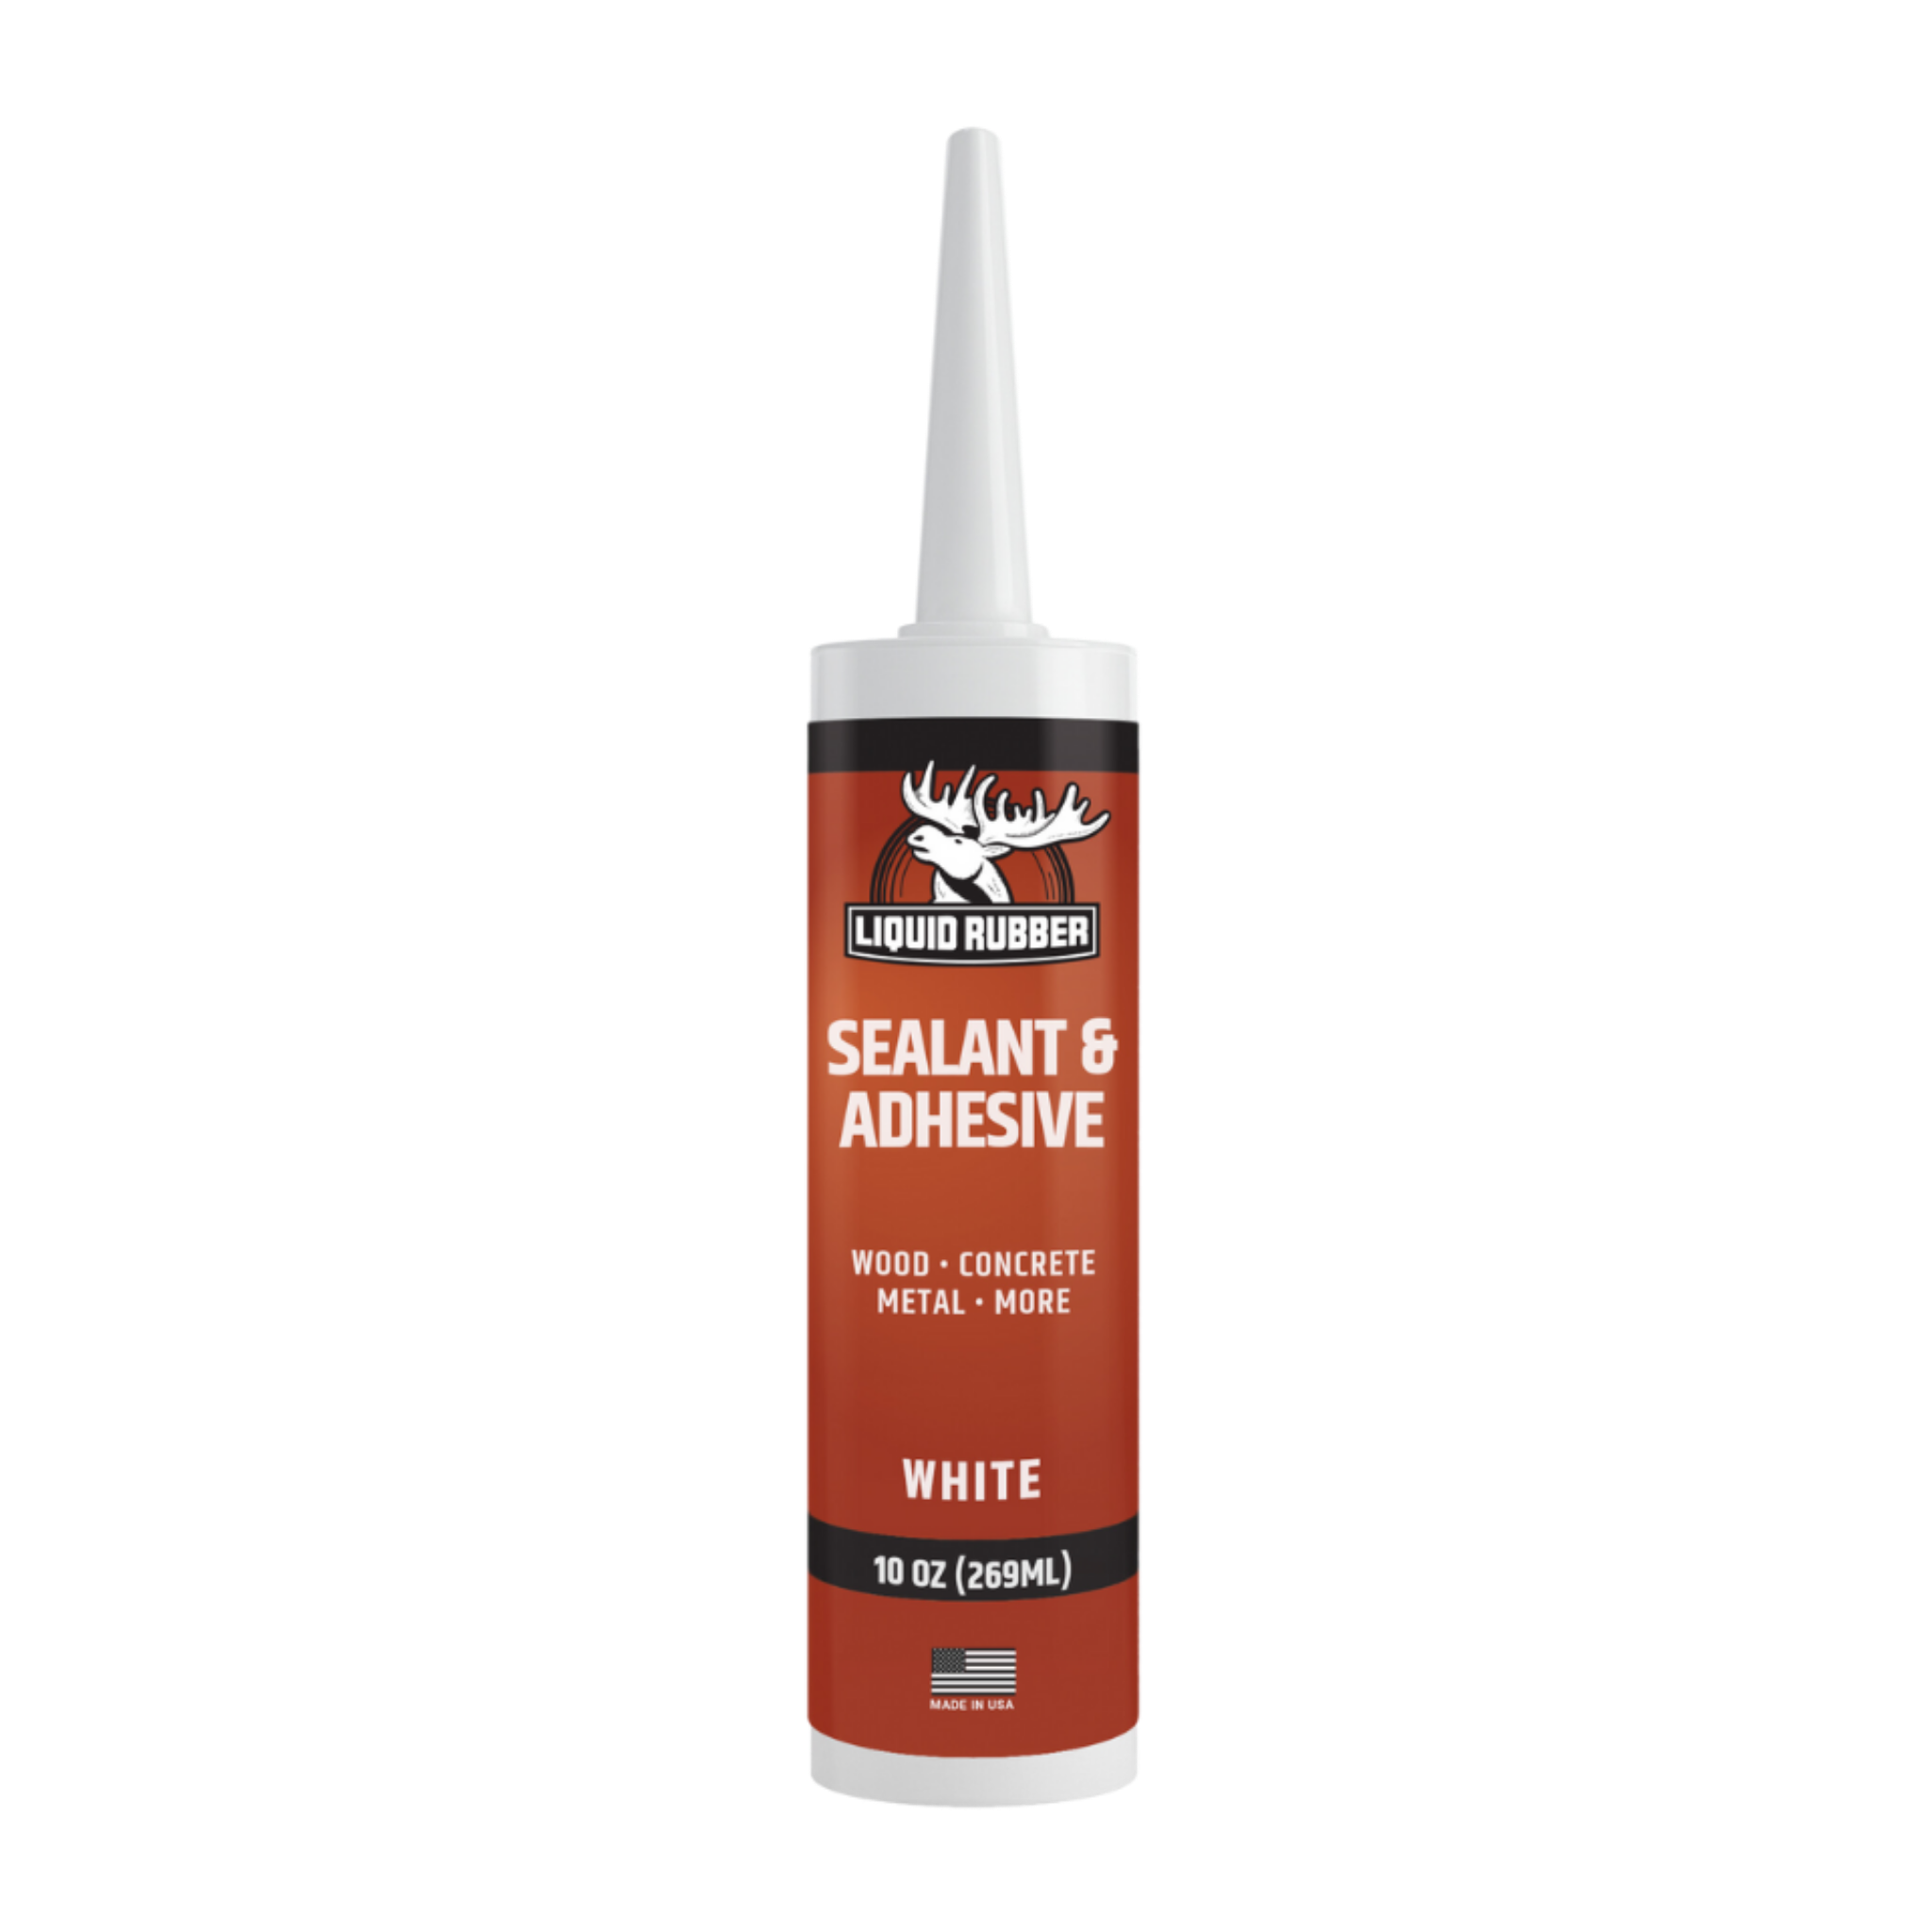
Corners, joints, drains, around protrusions: Use Seam Tape or Geo-Textile applied via the 3-course-method to reinforce these area’s prone to movement and leakage. 3-Course Method: Apply a thick 6’’ wide coat and embed 4’’ wide Geo-Textile reinforcement fabric followed by a second coat (known as the 3 Course Method). For all gaps/cracks greater than 3mm (1/8’’) fill with a high quality wood filler, concrete patch material or Liquid Rubber Sealant & Adhesive prior to 3 Course Method. Ensure the surface is smooth and flush.

BE SURE TO ADD DRAINAGE HOLES TO AVOID EXCESSIVE WATER COLLECTION THAT COULD HARM THE PLANTS.
Masking
Tape-off, block-off, or otherwise mask area’s that are not to receive your selected sealant.
Prime
As an option, use Liquid Rubber Multi-Purpose Primer to increase bond.
Apply Coating
Apply your selected sealant when temperature is 10°C/50°F and rising. Begin with your detail area's (i.e. joints, corners, etc.) as per the Detail Work specification above. Once the details have dried, use a brush, roller or appropriate sprayer to apply at a final thickness of (40-60 mils, 1-1.5 mm). Generally you can apply 2 heavy coats per day. Applications generally take 3-4 coats. Apply next coat when dry to the touch and nothing is wet underneath and is uniform in color. Tacky is OK. Avoid applying in high humidity (over 80%) or in direct, intense sunlight. Apply all recommended material.
Inspect and Protect
Inspect for pinholes, blisters, voids, thin spots or other defects after each coat. Repair as necessary. Allow 48-72 hours to dry, depending on product and environmental conditions.
Clean Up
Remove tape and close container to secure leftover product. If spillage occurs, soak up as much material as possible with rags. Clean immediately with soap and water. If spill is dried, scrape off as much as possible with a razor or scraper. Use mineral spirits to weaken product and an appropriate tool such as a wire brush or grinder to mechanically remove. If splashed on the skin immediately wash thoroughly with fresh water. If the product has dried on the skin massage the area with medical grade mineral oil, baby oil or edible oil, then wash with soap and water. If irritation persists seek medical attention.
OUR TEAM OF EXPERTS ARE STANDING BY TO HELP MAKE SURE YOUR PROJECT IS A SUCCESS. CALL OR EMAIL US AT
1-855-592-1049 support@shopliquidrubber.com