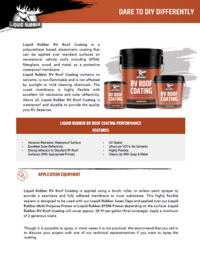
Complete Your RV Roof Sealing Project with Liquid Rubber
RV Roof Repair and Sealing
Protect Your RV: Stop Leaks and Prevent Damage
RV Roof Repair and Sealing
Protect Your RV: Stop Leaks and Prevent Damage
Time to Complete
48 hours
Difficulty Level
Beginner
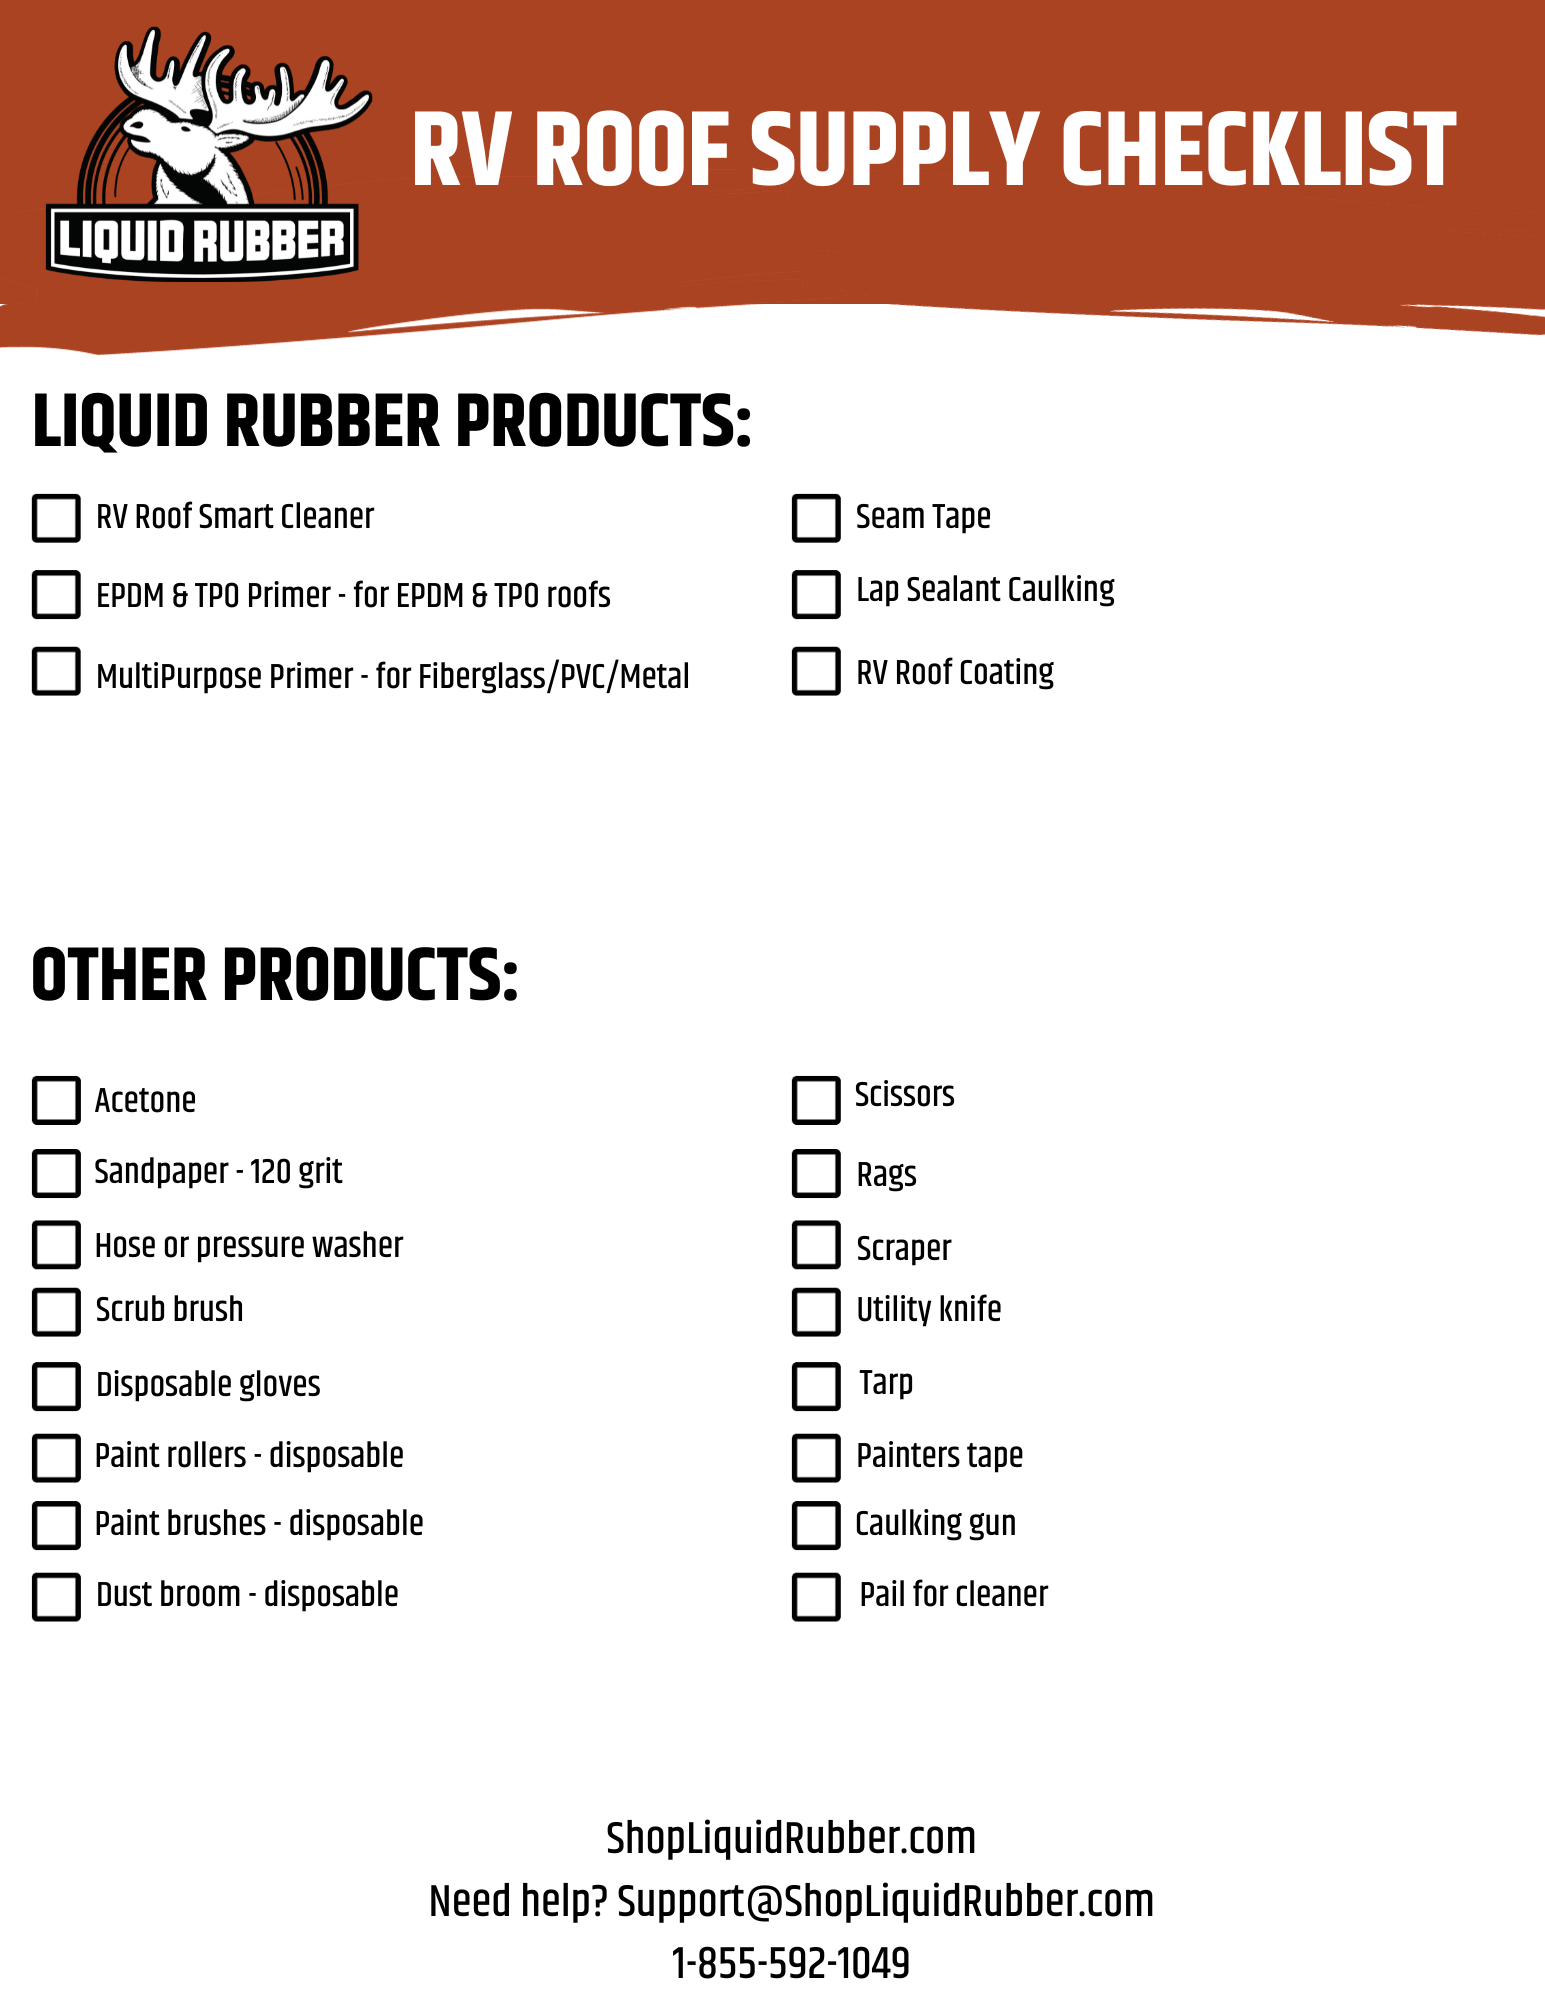
Products Needed
5